
A Hong Kong Hike
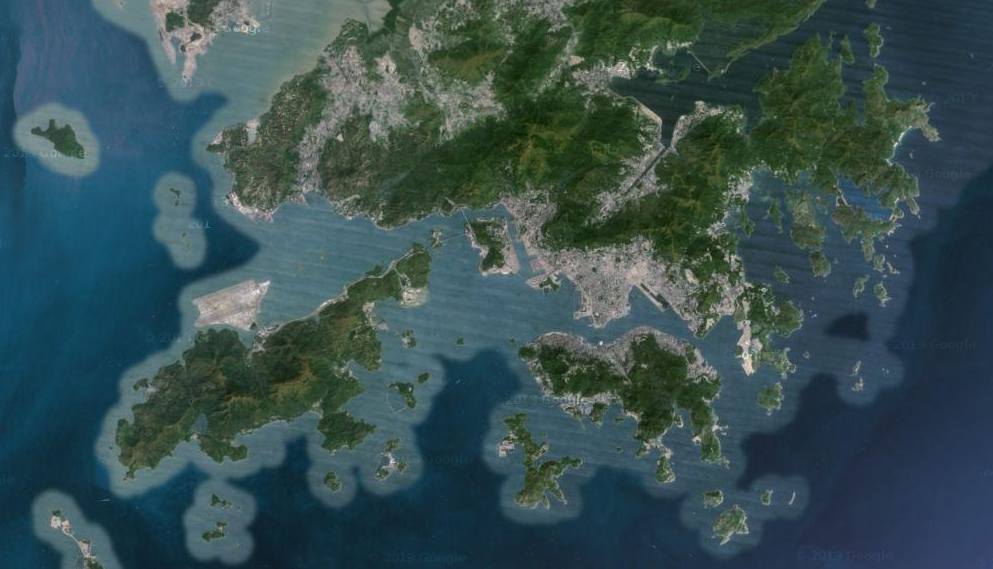
This satellite photo of Hong Kong shows just how much of it is actually not-concrete
More than a concrete jungle
Despite being one of the densest cities in the world, with the largest number of skyscrapers per land area or per capita of anywhere, it is a startling fact that 40% of Hong Kong’s total area is designated as parkland. If you look at a satellite picture (like the one above), it almost seems obvious. However, if you’ve ever lived in Hong Kong, it is not at all obvious that there is so much greenery around unless you actively seek it out. A good way to see a much more pleasant side of Hong Kong than the endless rat race, pollution, and traffic, is to go on a hike. Fortunately for us, when Hong Kong was a British colony, many former governors of Hong Kong were enthusiastic hikers (Sir David Wilson, and Lord Murray MacLehose for which the Wilson trail and the MacLehose trail are named) so Hong Kong has a number of well-marked hiking trails to choose from. In this article, I will present one route. Don’t forget to click the pictures.
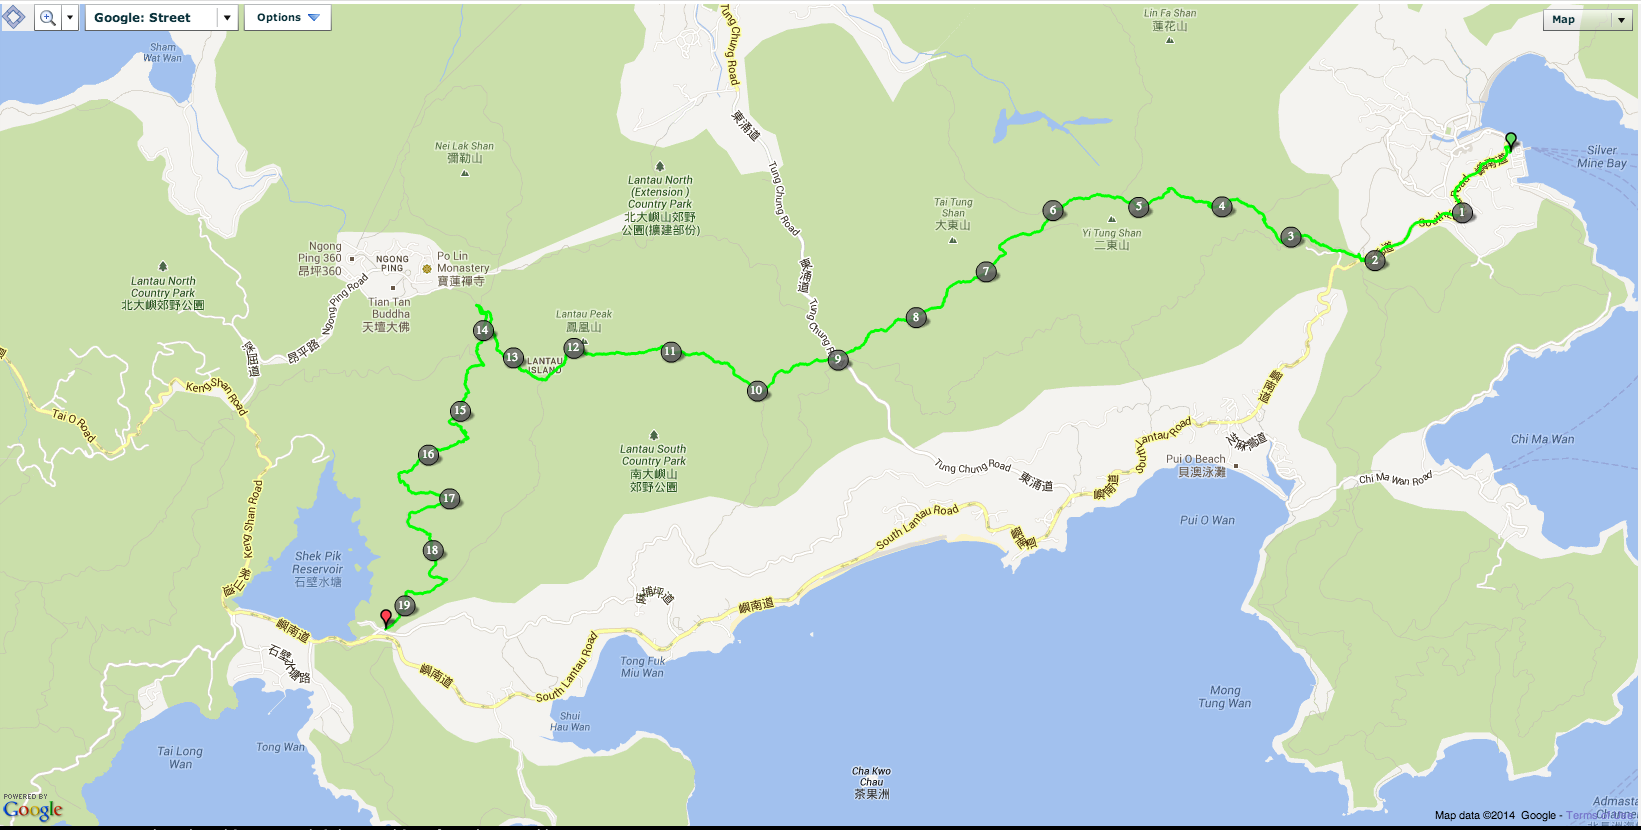
Not so long ago, I would have passed on knowledge of my hikes by writing down obscure directions on a piece of paper. “Turn right when you see a large slippery-looking rock” might read one direction. But now with the ease of digital photo sharing, as well as the convenience of GPS tracking in smartphones, I can easily pass on enough details for anyone to be able to follow my hikes. A map, for example:
This is probably my favourite hiking day-trip in Hong Kong, and for reasons that those close to me will understand, I’ve done this route so many times that I’m intimately familiar with every section of it. I also recommend this hike because it is long enough and technically difficult enough to challenge an experienced and physically fit hiker, but not so much that a relative novice couldn’t safely attempt it. It also divides easily into different sections giving a hiker the flexibility to attempt different sections at a time, or to cut short the hike for whatever reason (running out of daylight, for example).
Summary
The hike consists of sections 1, 2, and 3 of the “Lantau Trail” as well as the “Shek Pik Country Trail”. The start/finish of each of these four sections are easily accessible by public transport. The total distance covered is about 20km and can be done at a leisurely pace with frequent breaks in under 8 hours. The summit of Lantau Peak is reached from which an expansive view of the island of Lantau can be witnessed in good weather conditions. I like to begin the hike at Mui Wo (which is conveniently where the ferry from pier 6 in Central will drop you off), and finish by taking the bus to Cheung Sha Beach (on the way back to civilisation) and going for a swim in one of Hong Kong’s cleanest beaches, then eating an ostrich steak at a South African restaurant called “The Stoep” (there is a Thai restaurant next door if ostrich isn’t you thing).
Section 1 – 2.2km, section 2 – 6.4km, section 3 – 4.7km, section 4 – 6.3km. Highest point – 934m, total elevation gain – about 2000m
Getting There
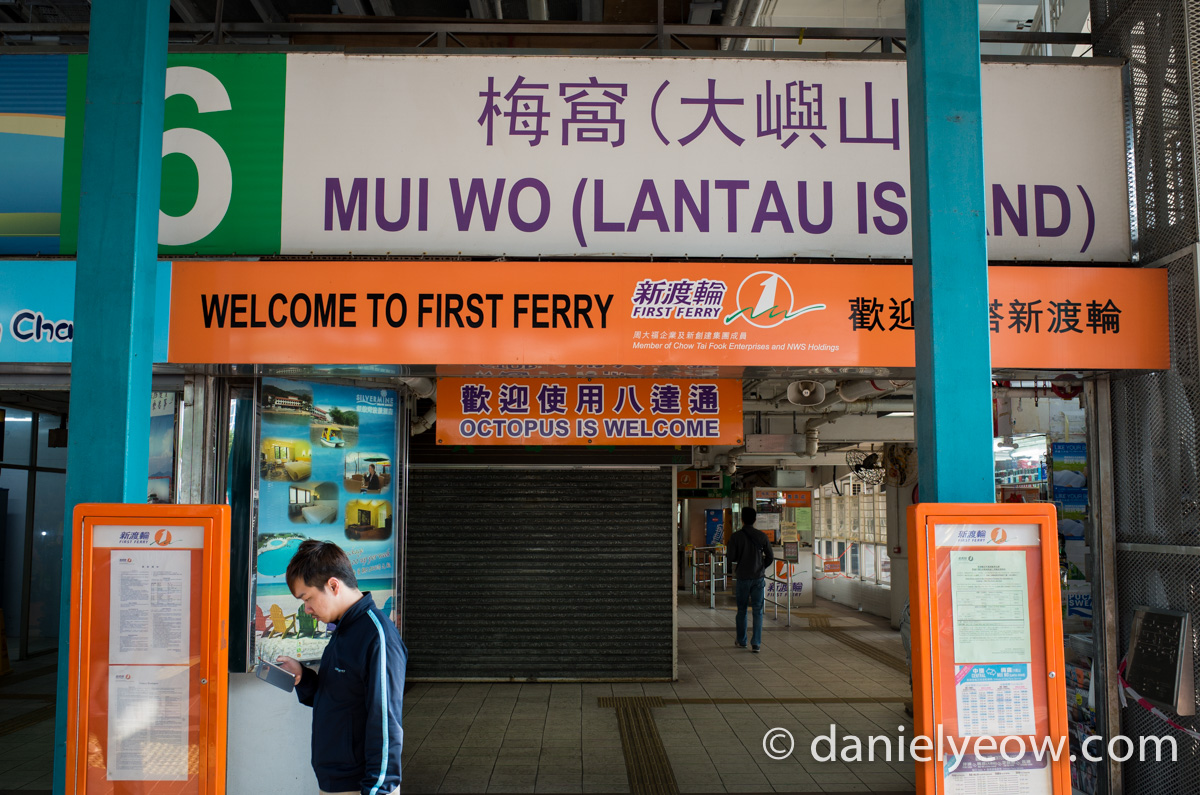
First you will need to take the ferry to Lantau. This is easy enough, and can be paid for by Octopus. Because of the length of the hike, it is advisable that you arrive quite early as you really don’t want to start the hike much after 10am (if you plan on doing the full course). If nothing is open when you arrive (not likely) fear not, as there is a 7-11 at Mui Wo which will definitely be open when you arrive. The ferry takes either 30 minutes or 50 minutes depending on whether you catch the regular or fast ferry (timetables can be found here). When you arrive at Mui Wo, it is advisable to visit the McDonald’s there and use their toilets since there isn’t another toilet until the start of Lantau Trail section 3 (and it’s a porta-loo). Also use the 7-11 to stock up on liquids, snacks, and credit on your octopus, since you’ll need it to take the bus back, regardless of how much of the hike you decide to do.
This goes without saying, but DO NOT do this hike without ample amounts of water and snacks. I usually carry at least three litres of water or sports drink with me (usually more), and will have about a meal’s worth of müsli bars with me. As a side-note, I will often carry a spare shirt to change into at the end of the hike. If you sweat a lot (like I do) I recommend a synthetic moisture-wicking shirt of some kind, since cotton will just become soaked and heavy in Hong Kong’s humid weather. Sunscreen is also not a bad idea if there is low particle pollution on that day #HongKongProblems.
Section 1
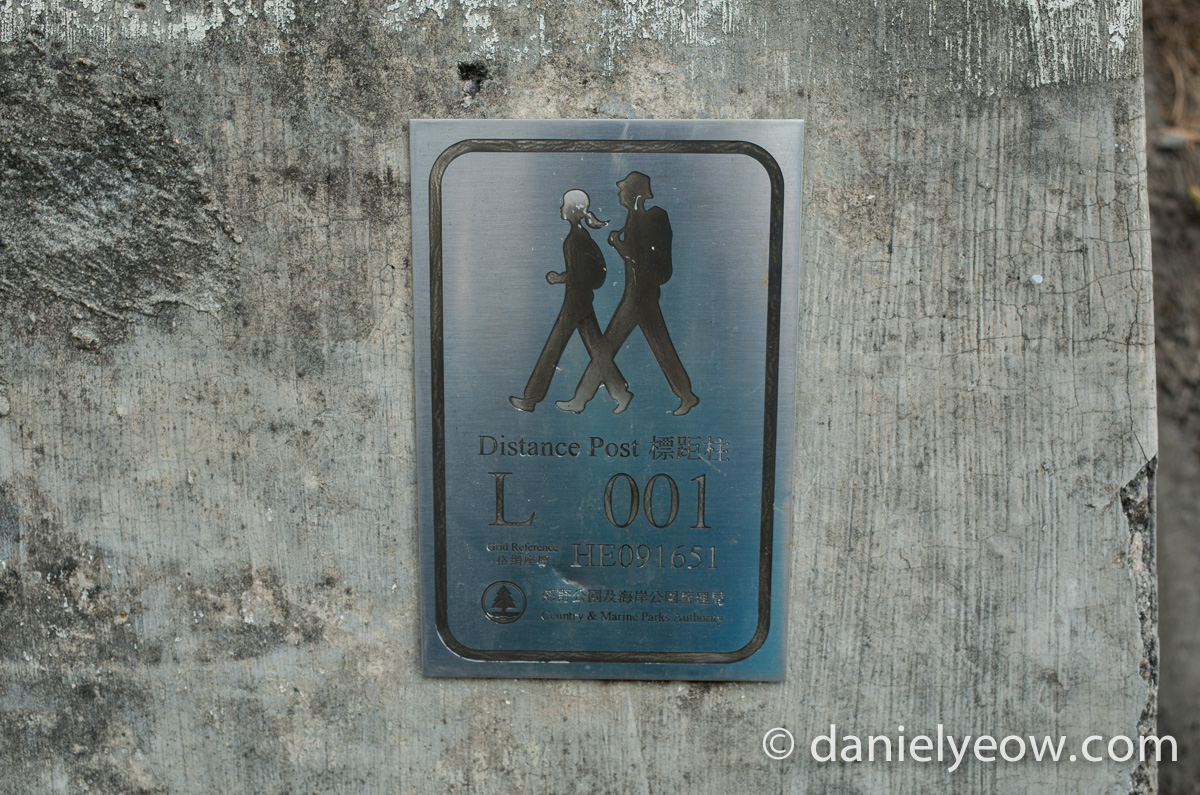
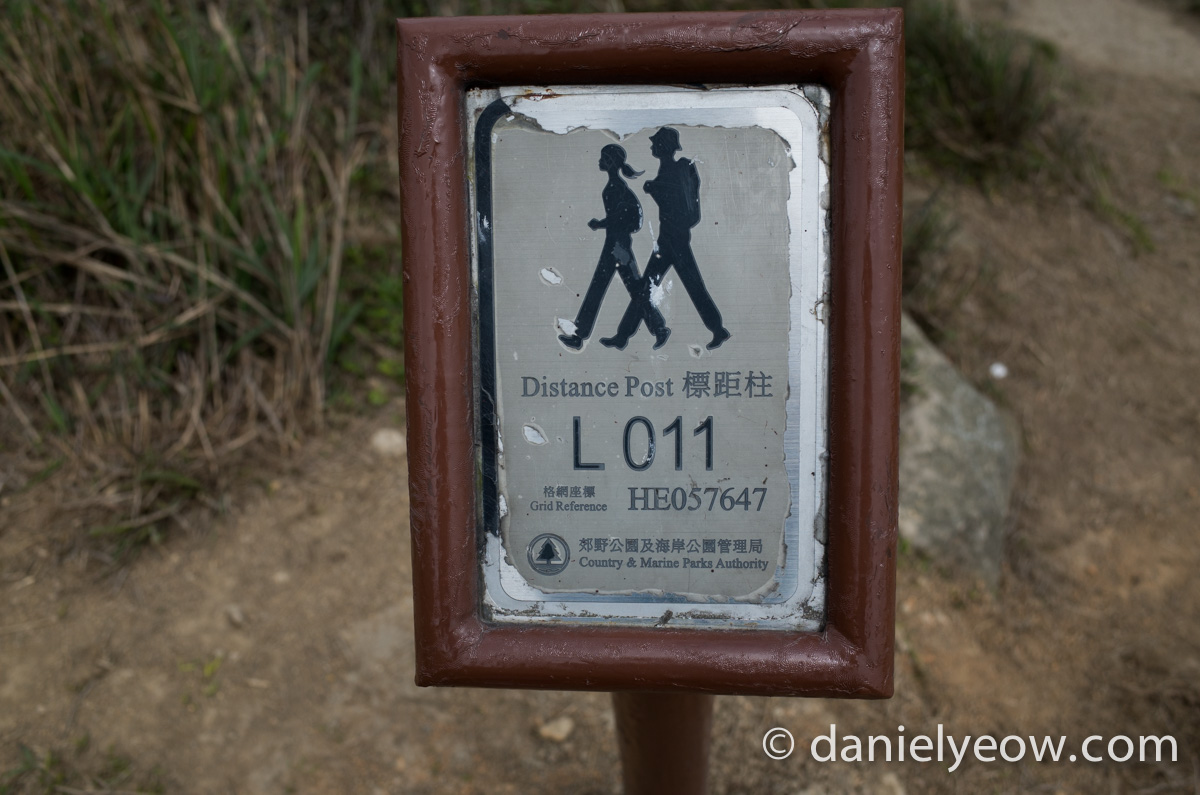
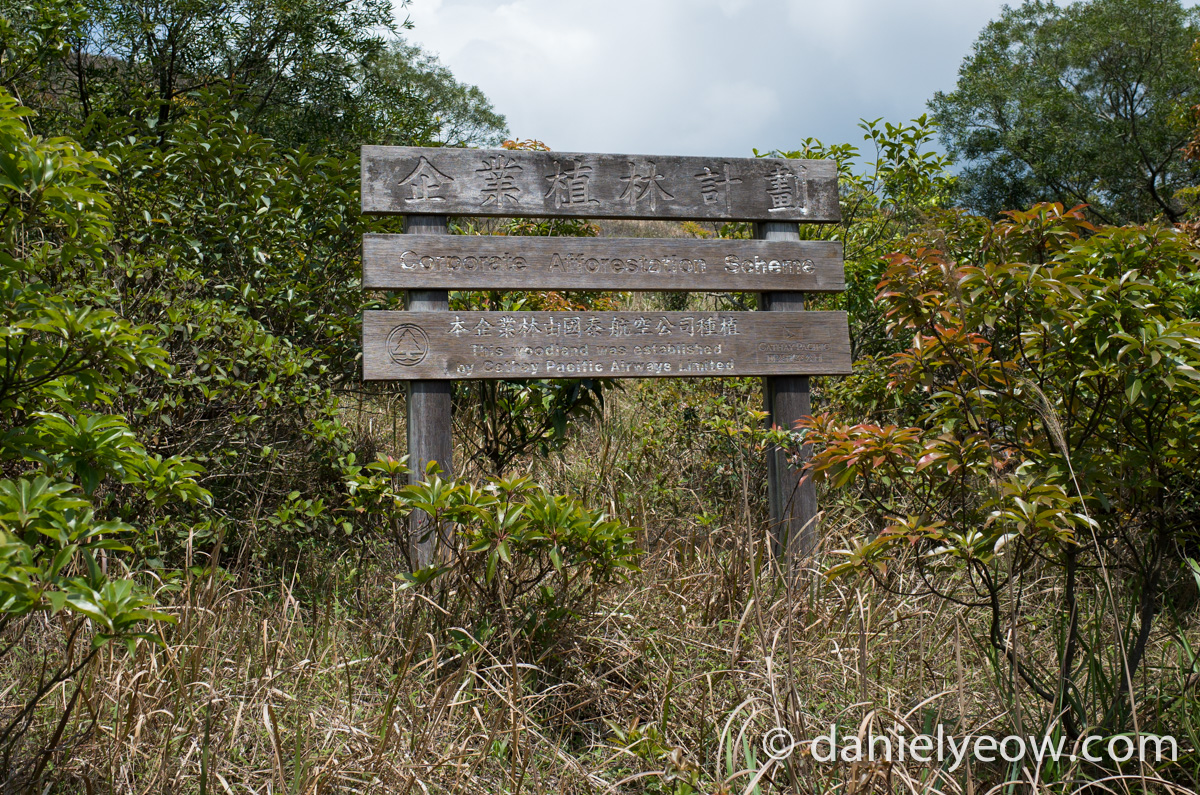
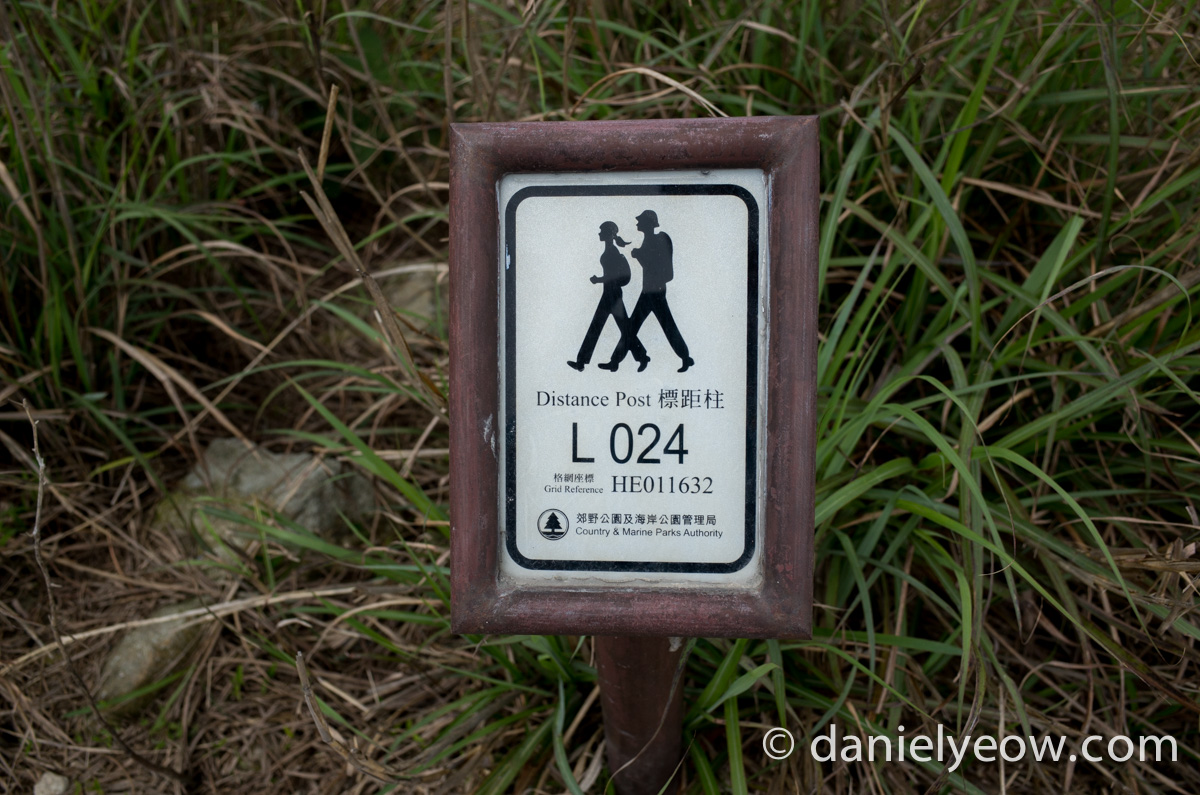
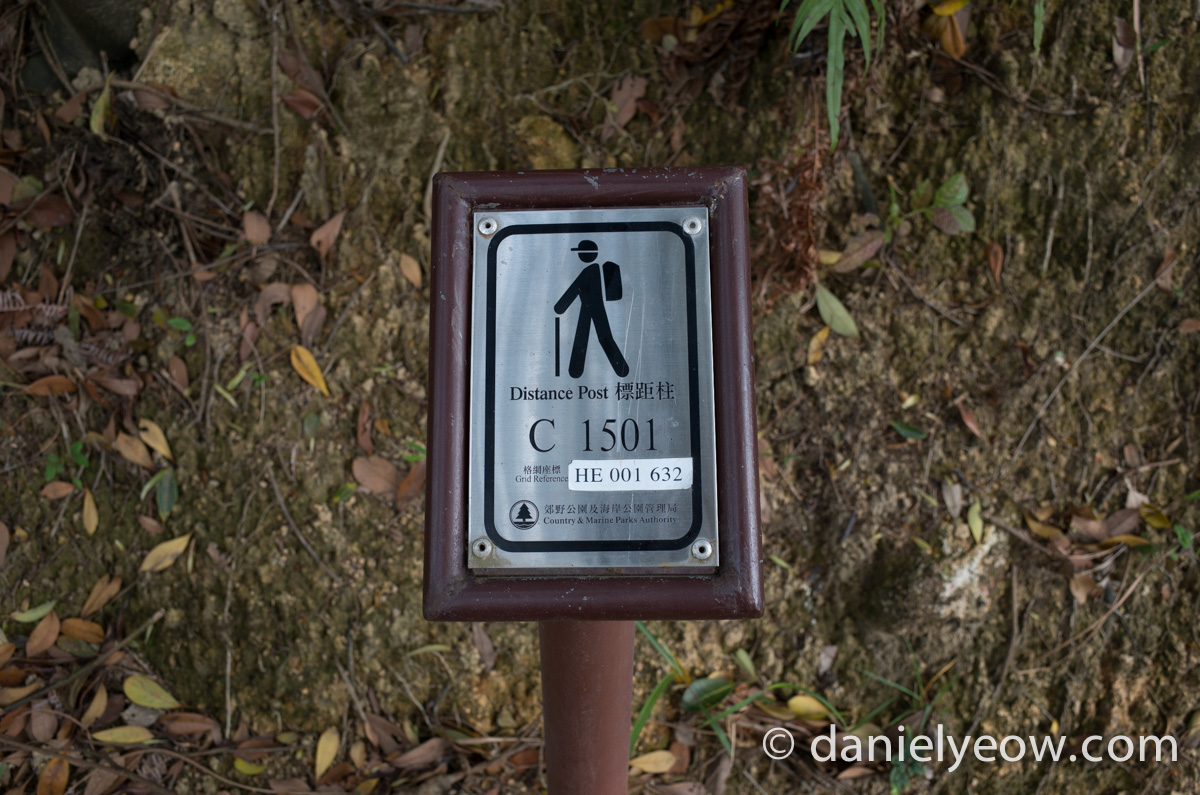
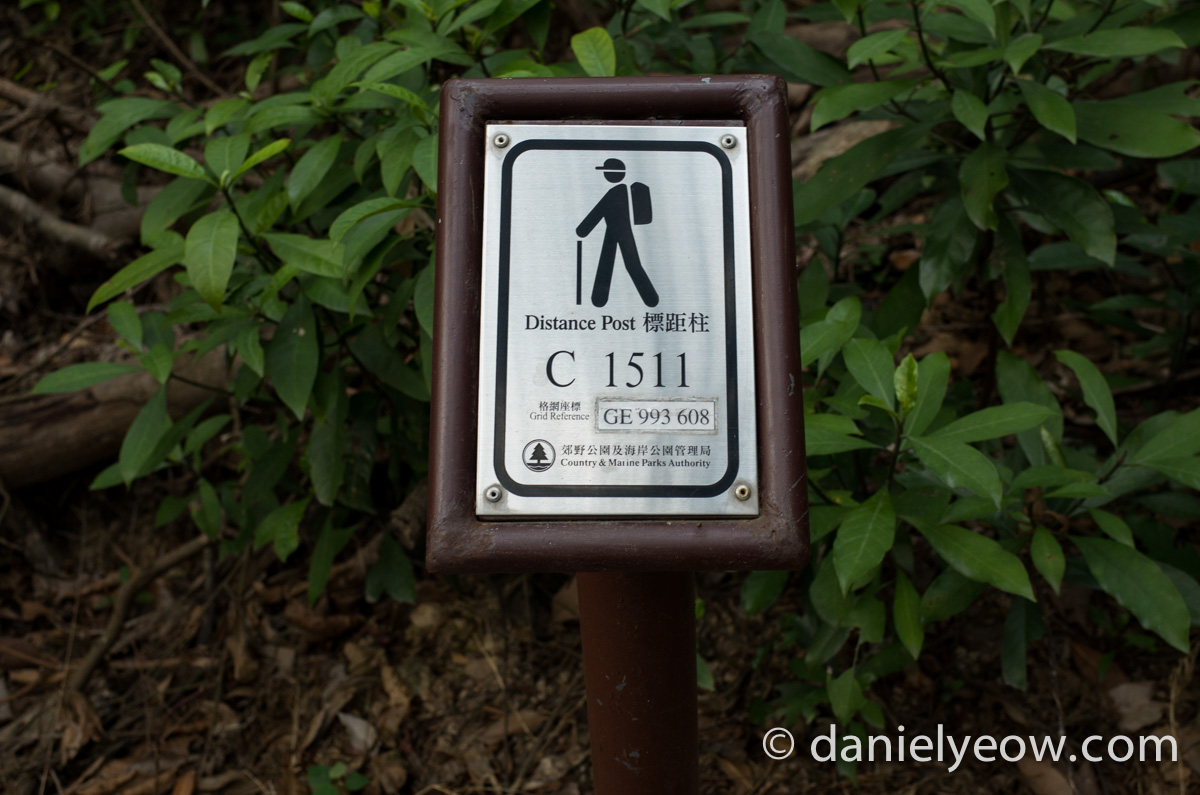
When you’re done with the 7-11, keep walking along the road and you’ll eventually see a HSBC bank, next to a roundabout (Mui Wo is very small). Of all the roads radiating from the roundabout, one of them will be sloping upwards – this is the beginning of the Lantau trail. Since these trails are all “official” they are marked every 500m with these distance posts. These are wonderfully useful things, and if for any reason you need to call for help, you’ll need to remember which one of these you’re closest to. The first section of the trail is really just a warm up, and has a very gentle uphill slope.
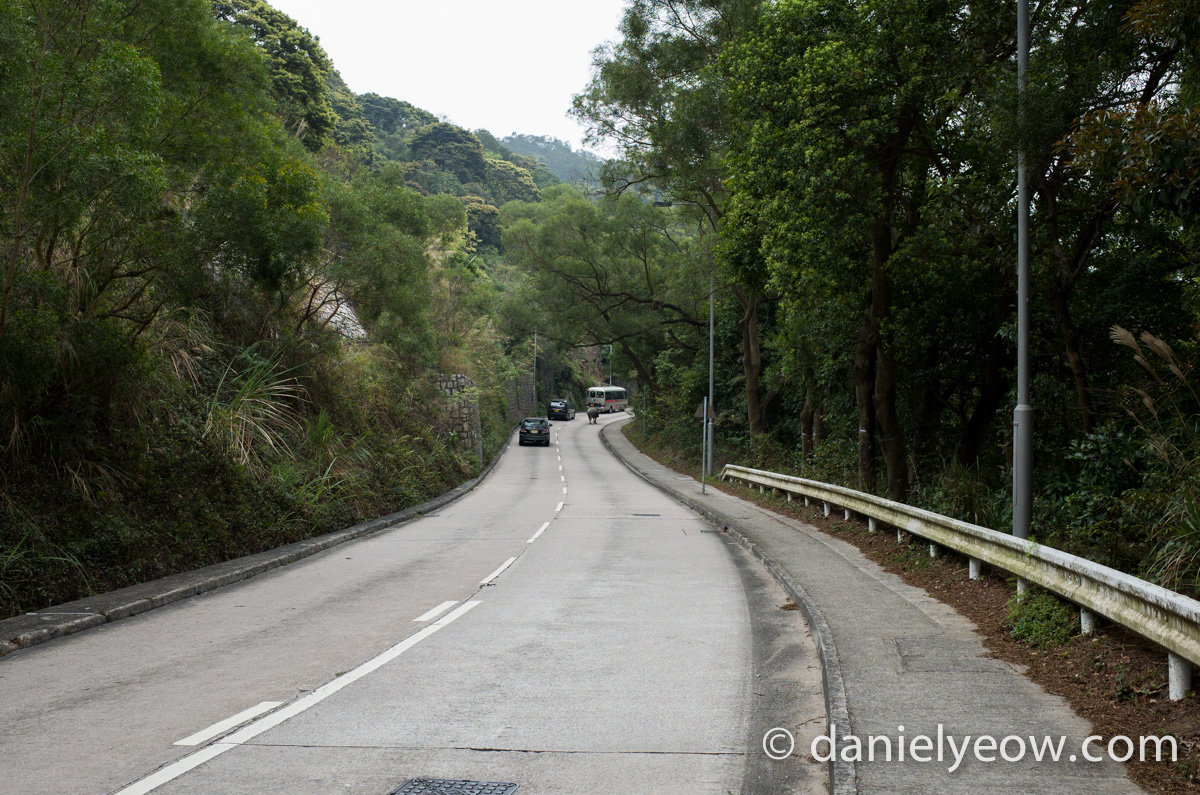
It’s also next to a road, which isn’t ideal. Any bus which leaves Mui Wo will travel along this road, so if you’re feeling *really* lazy, you can skip section 1 by taking a bus for 1 stop. You can also take a bus straight to the start of section 3/end of section 2 from Mui Wo (make sure to get on a bus to Tung Chung). Section 1 is about 2.2 km, and you will know you’ve reached the end of it when you see…
Section 2
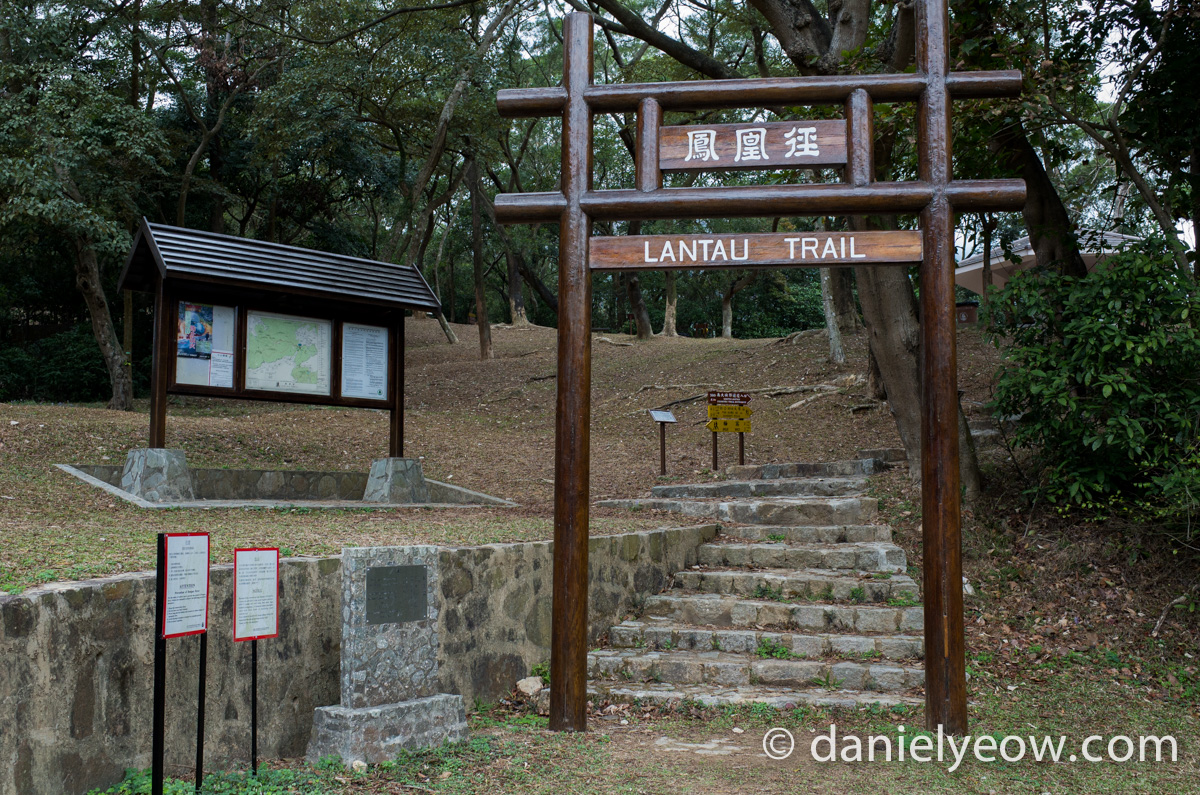
Despite appearing to be the start of the Lantau Trail, this is really the start of section 2. Distance marker 5 is also just behind that tree. There’s a small display of native flora, complete with labels, and a rest area. Oh yeah, there are some proper toilets here as well. As I usually hike in the winter (Hong Kong winter is relatively mild) I’ll have worn long pants up until this point. This is where I change into shorts. Usually I’ll also have a light jacket which I’ll have already rolled up and put in my bag.
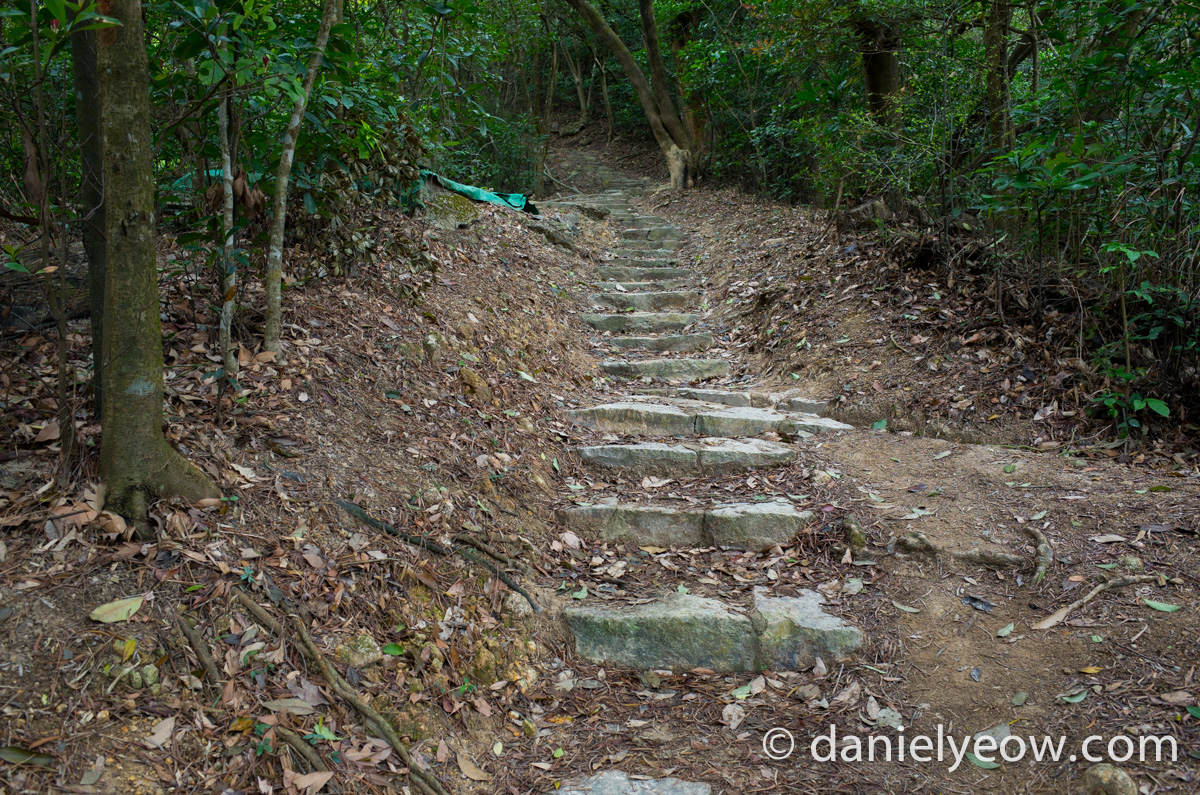
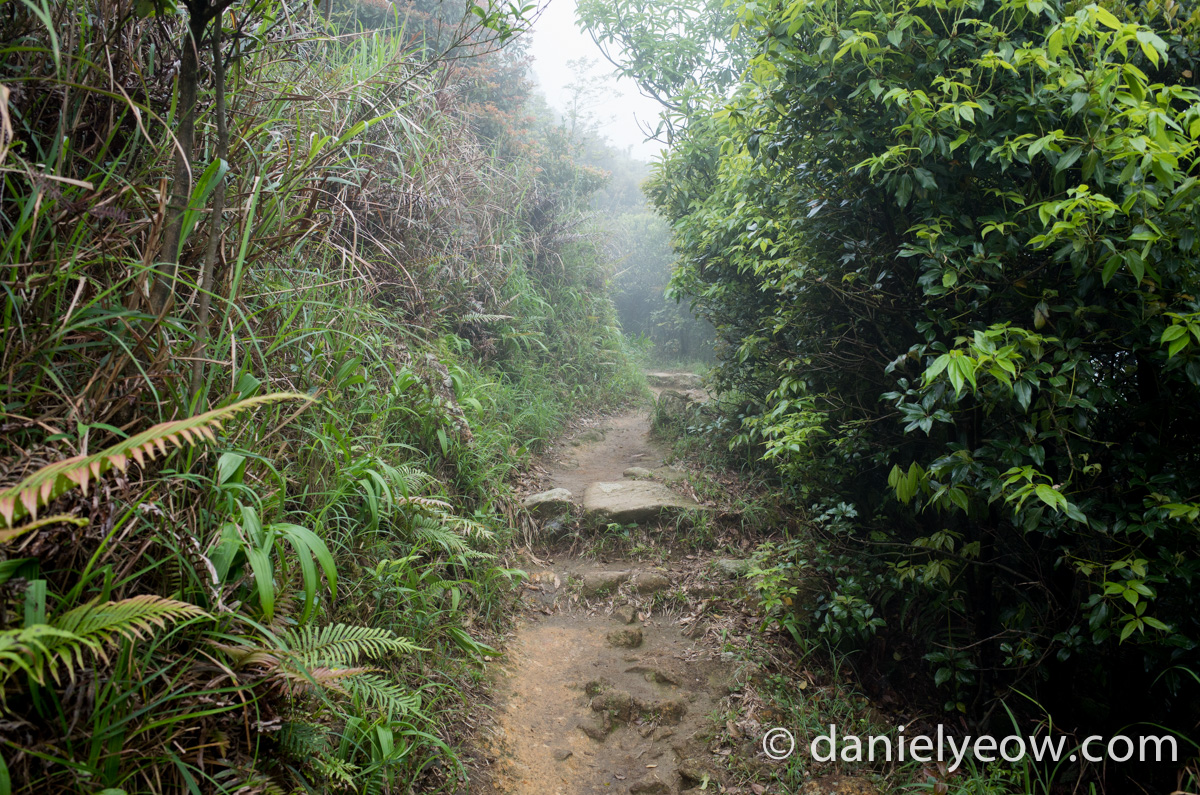
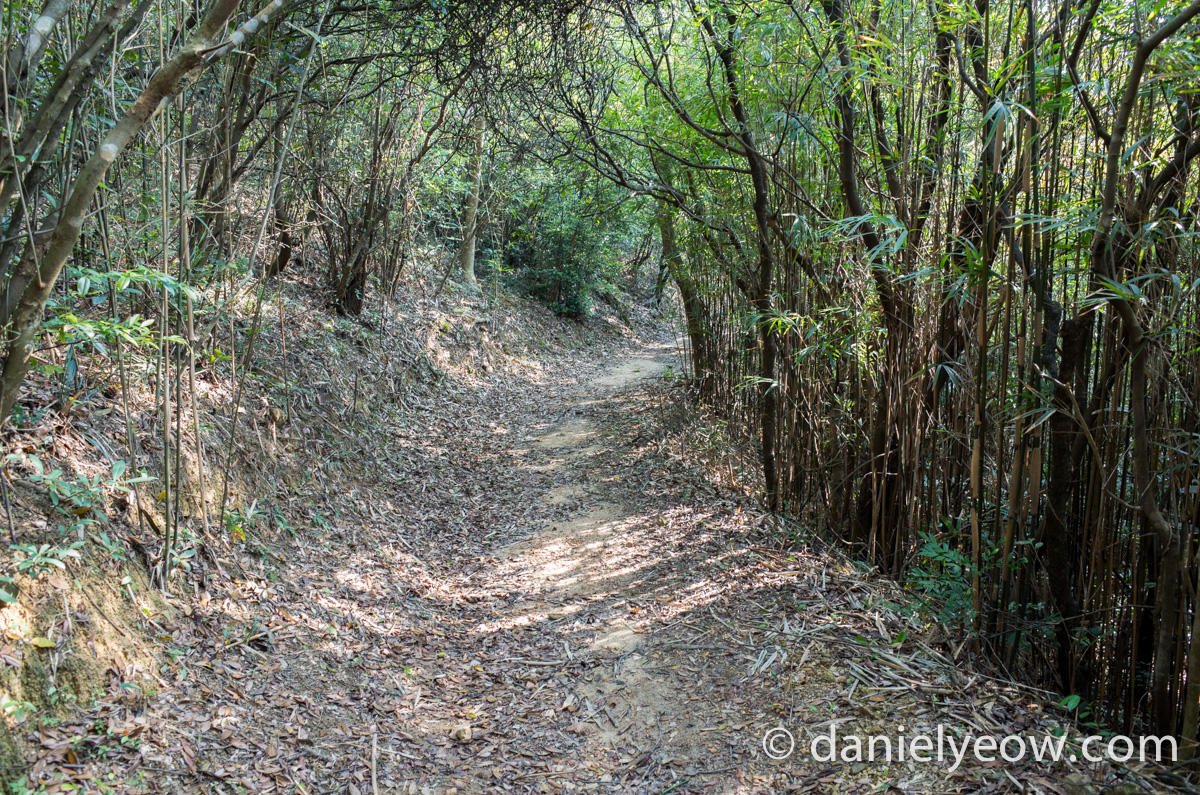
The early part of section 2 is relatively mild, with most of the terrain looking like this. If you’re lucky enough to be hiking around april, that’s when all the spiders are going crazy with their webs, and you’ll walk through a bunch of them if you’re one of the first hikers of the day. Beware, arachnophobes. Occasionally there are forks with ambiguous signage. As a general rule, always take the high road. If there is a sign, go towards Sunset Peak (the first peak that we pass, but don’t actually summit) or Pak Kung Au (the road that divides sections 2 and 3 of the trail).
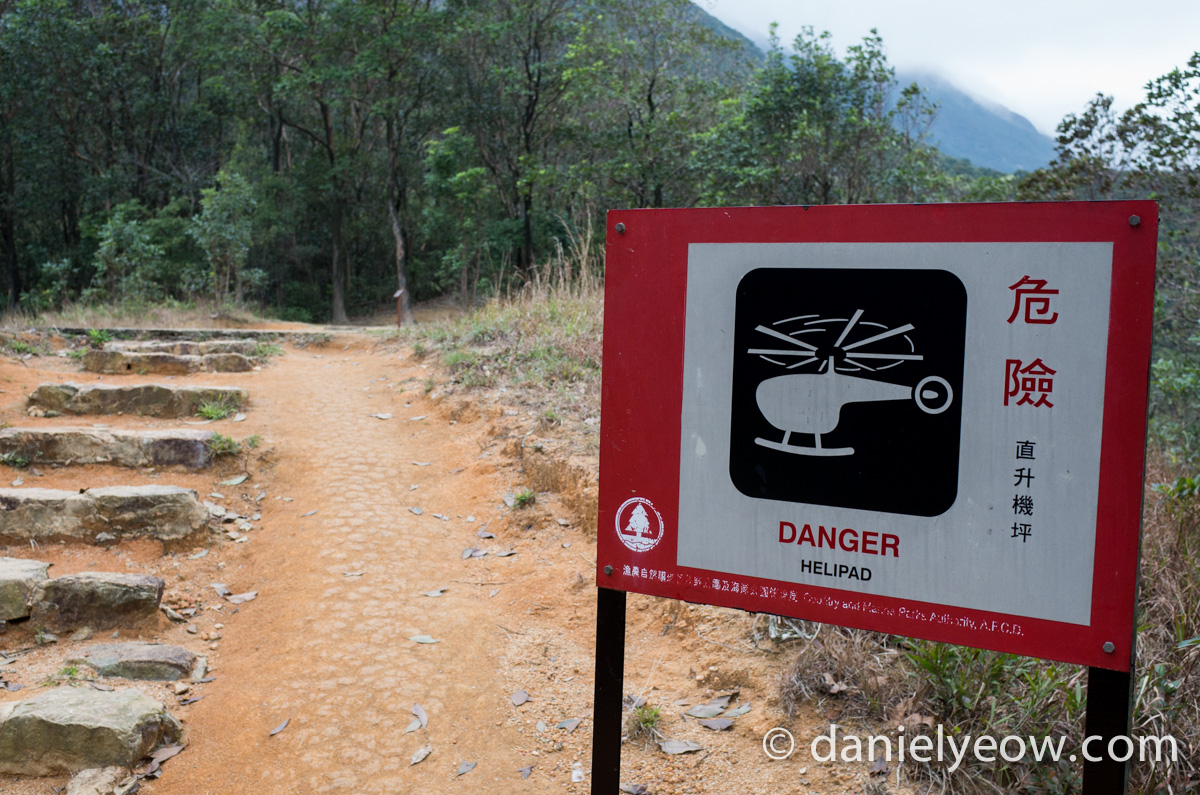
Look out for the helicopters.
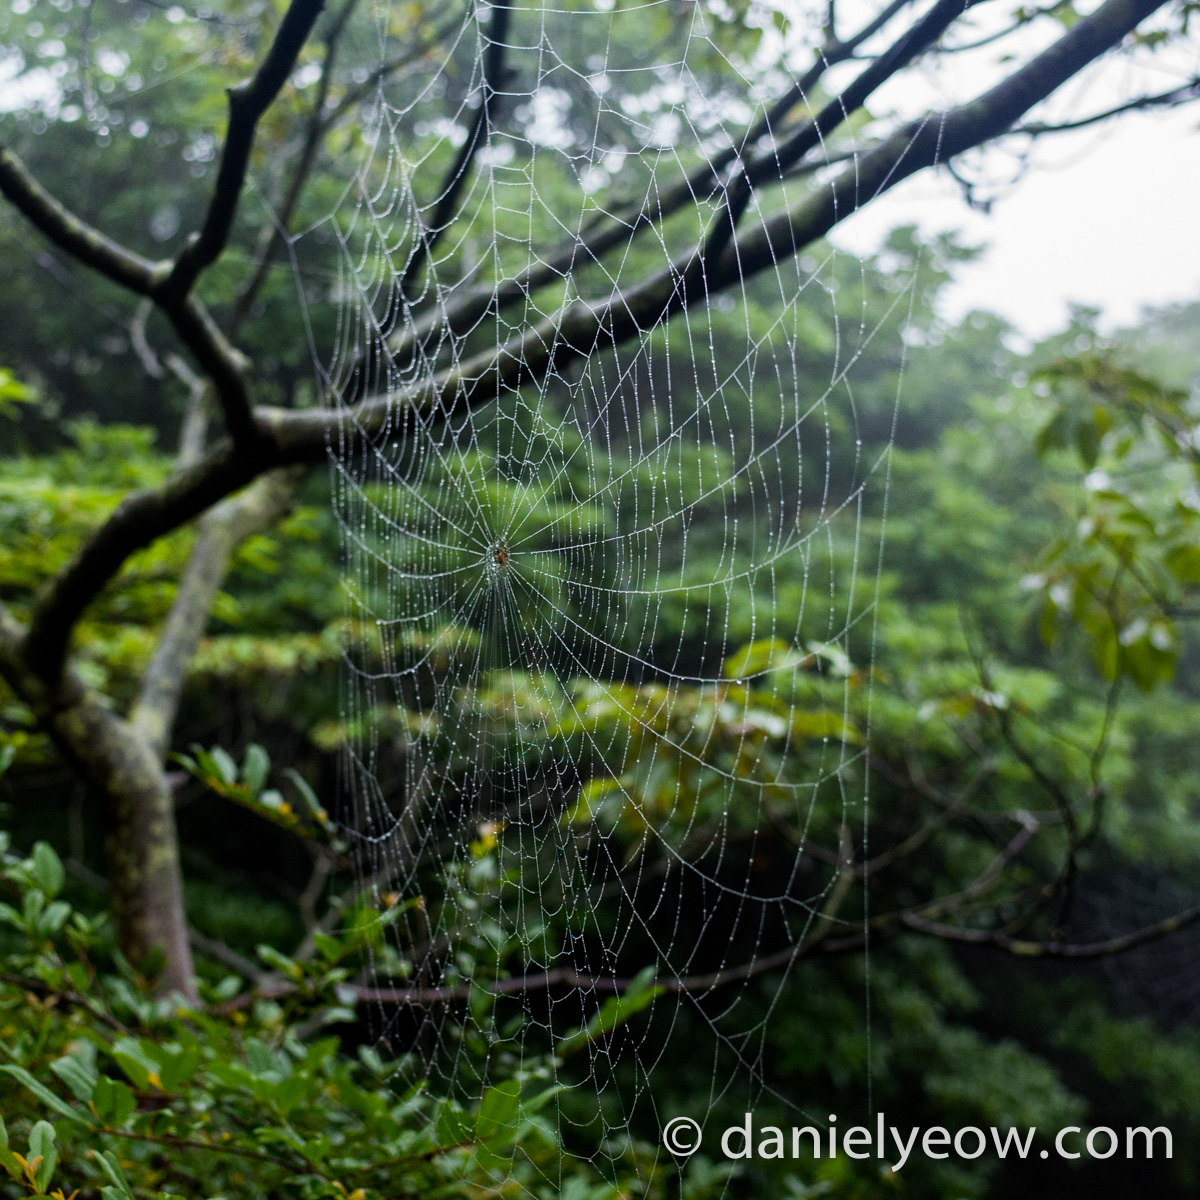
Look out for the spider webs. Since this isn’t Australia, there’s nothing to be worried about, but getting a wet spiderweb in the face isn’t a pleasant feeling, even if you aren’t afraid of spiders.
The trail quickly becomes steeper, and this is where you’ll pass slow people. Eventually it levels out somewhat and winds its way around the mountain. This section of the trail is the narrowest and with the densest vegetation.
Have a break
Distance marker 11 is a good spot to rest. Not only because you’re now well and truly out of the steep portion of the climb, but it exists in the saddle-point between two peaks as well as a break in foliage. This means that if there is ANY wind that day, it will funnel through here and be stronger. So this is a good spot to squeeze your towel dry, catch your breath a bit, and just enjoy the breeze. This is usually also where I will snack on my first bar.
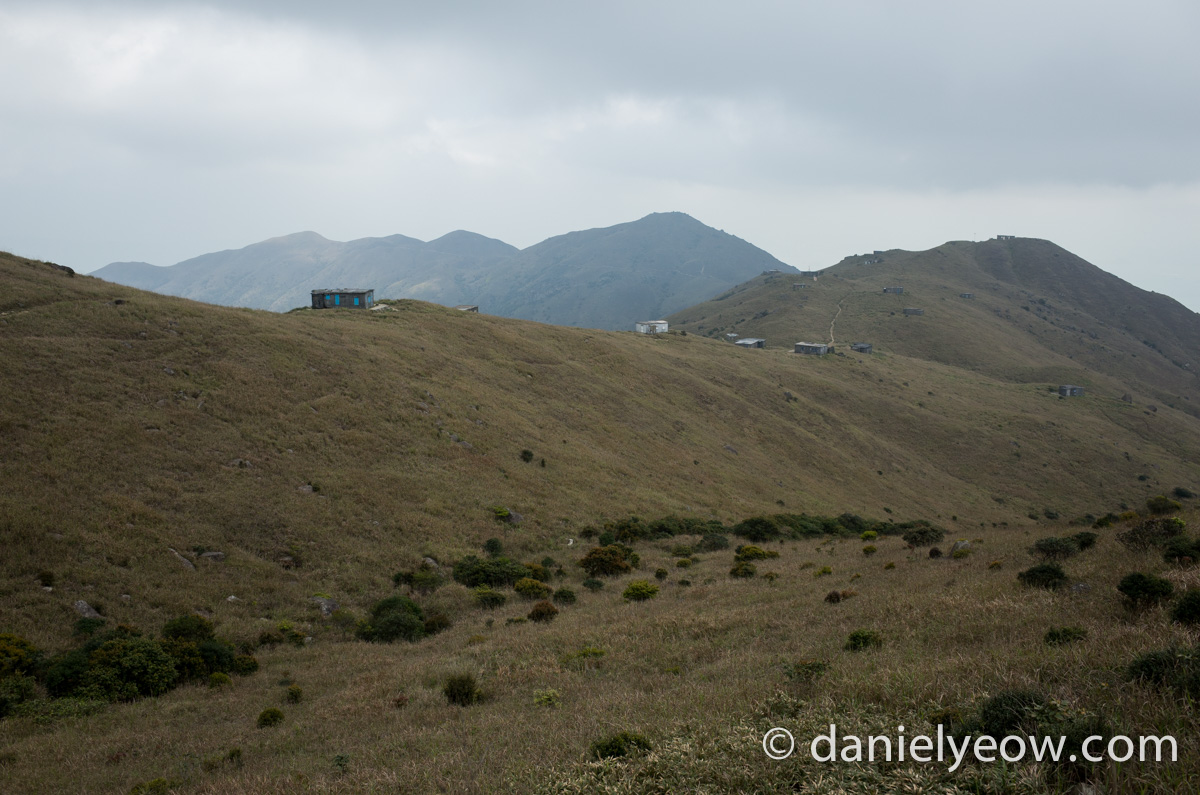
Continuing on, there is still an upward slope, but it is very gentle. You’ll pass a large sign with a map for a path that goes off to the right. This path I have not yet tried, but I believe it eventually lands you in Tung Chung (the populated area next to the Hong Kong airport, and where the MTR trains go). Just ignore it for now and keep going. If the visibility is good, you’ll eventually come across some huts. If the visibility is bad, you’ll still come across them, but you might not see them.
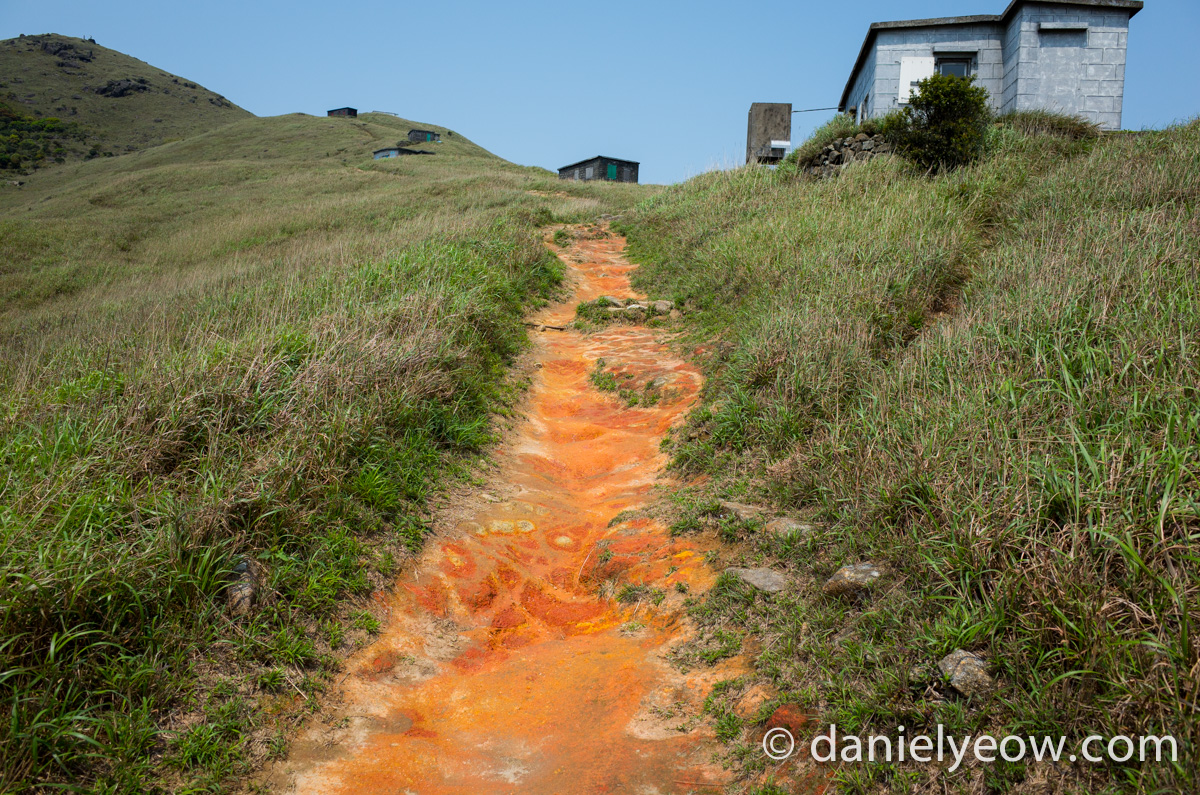
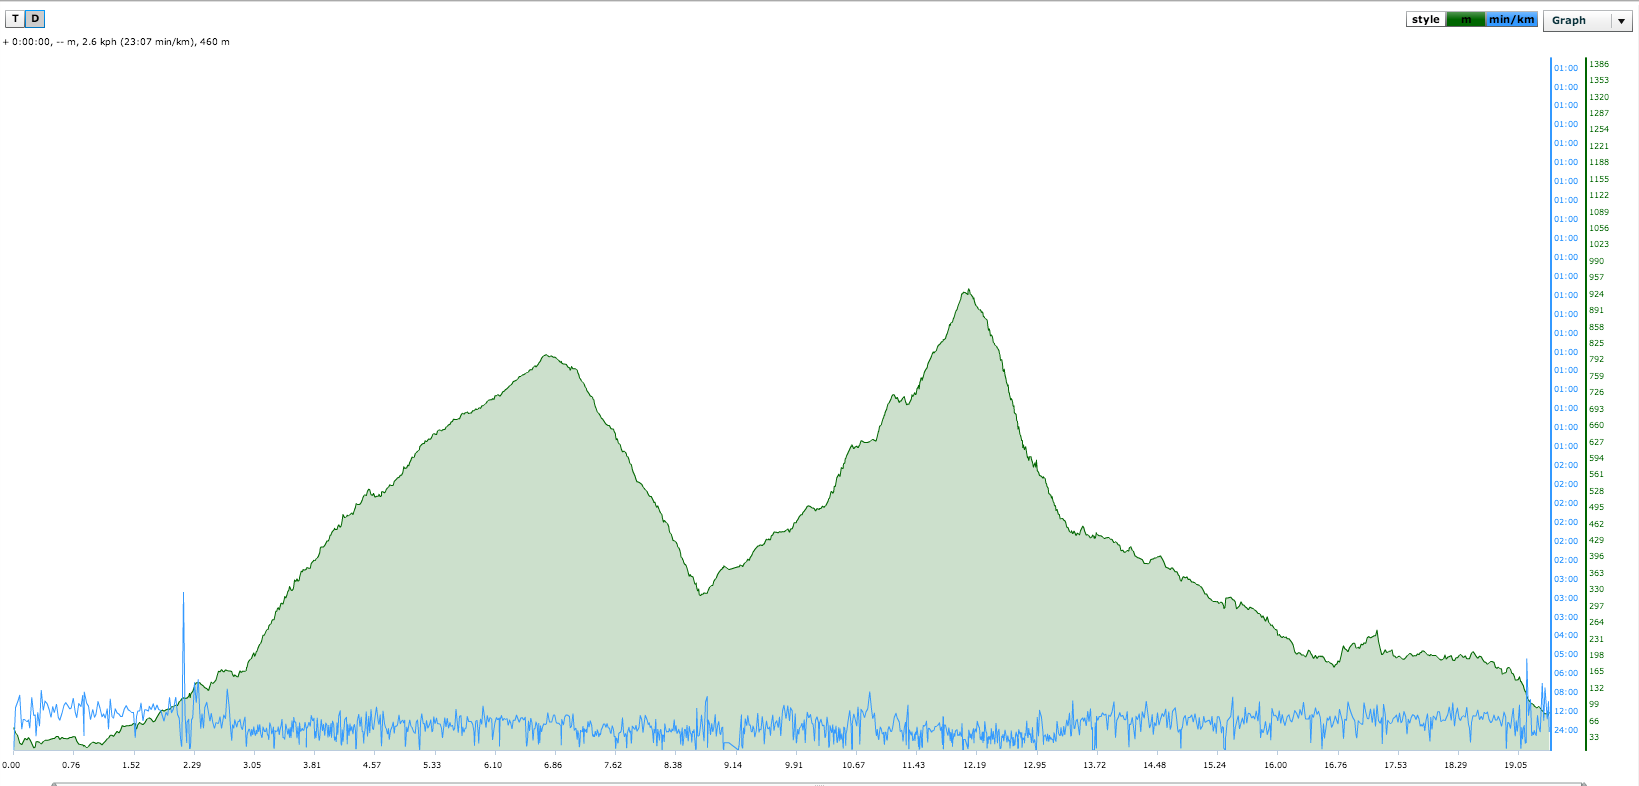
My understanding is that you can rent these huts for “camping” in. Often you will see people in tents next to these huts (for shelter from the wind). If you hike just after some rain, or a lot of rain, you can sometimes see the bright orange soil which usually hides under a less-shiny layer (dust and pollution, I suppose). Not long after the huts section, the gentle upward slope changes to a gentle downward one and passes to the left of Sunset Peak. Once past Sunset Peak, the downward slope becomes considerably steeper. It’s hard to see from the graph, but it actually gets steeper as you near the bottom. To the point where it’s actually sometimes easier to go down at a slight jogging pace, than to walk (because you skip the impact of landing on every step).
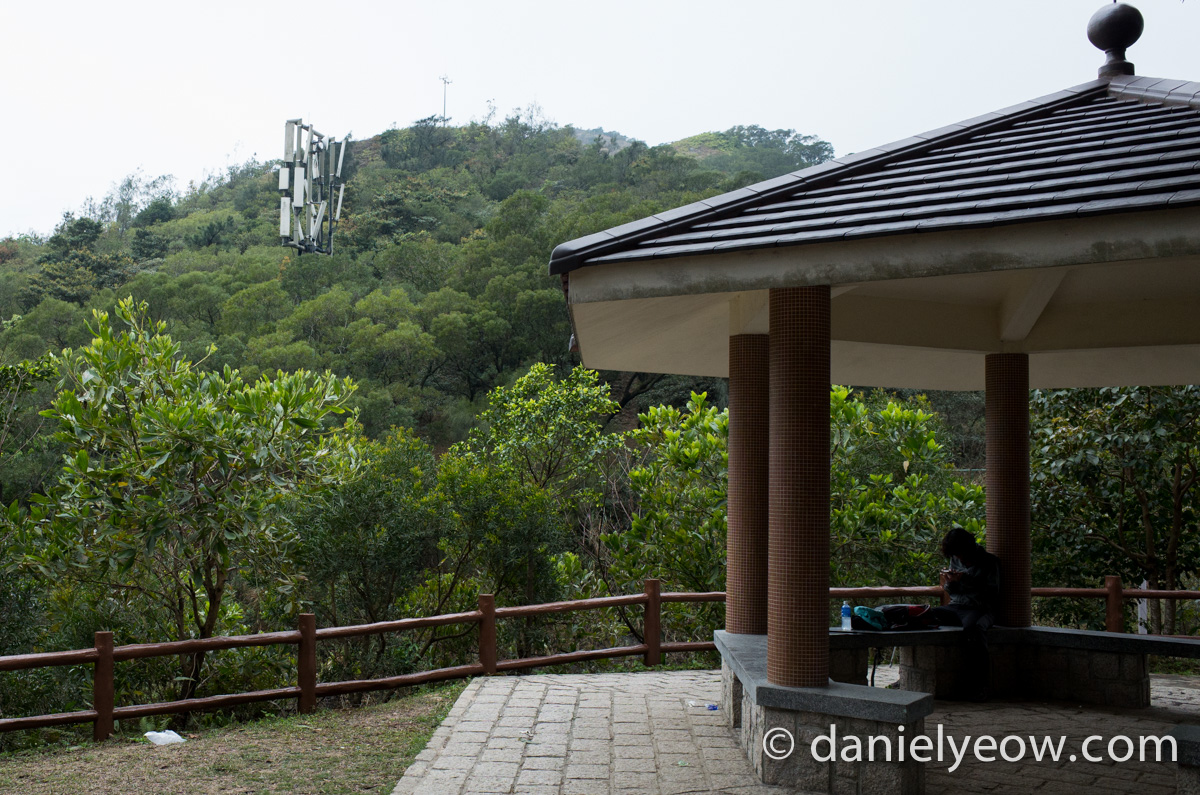
Right near the end of the descent, the tree coverage becomes thicker quite suddenly. The path flattens out, and then you’re at one of these shelter things. Since section 2 is about 7.4 km, this is a pretty good time to take a break to eat something. You’re about halfway. If you would prefer to take a break somewhere with a slightly nicer view (although the mobile phone tower is pretty, isn’t it?) there is a rest area very early on in section 3. You will hear a road nearby (you will also see it) and if you wish, you can end the hike here and take a bus back. From here facing the road, either take a bus going right (north) towards Tung Chung and the MTR, or take a bus going left (south) towards Mui Wo and the ferry.

Section 3
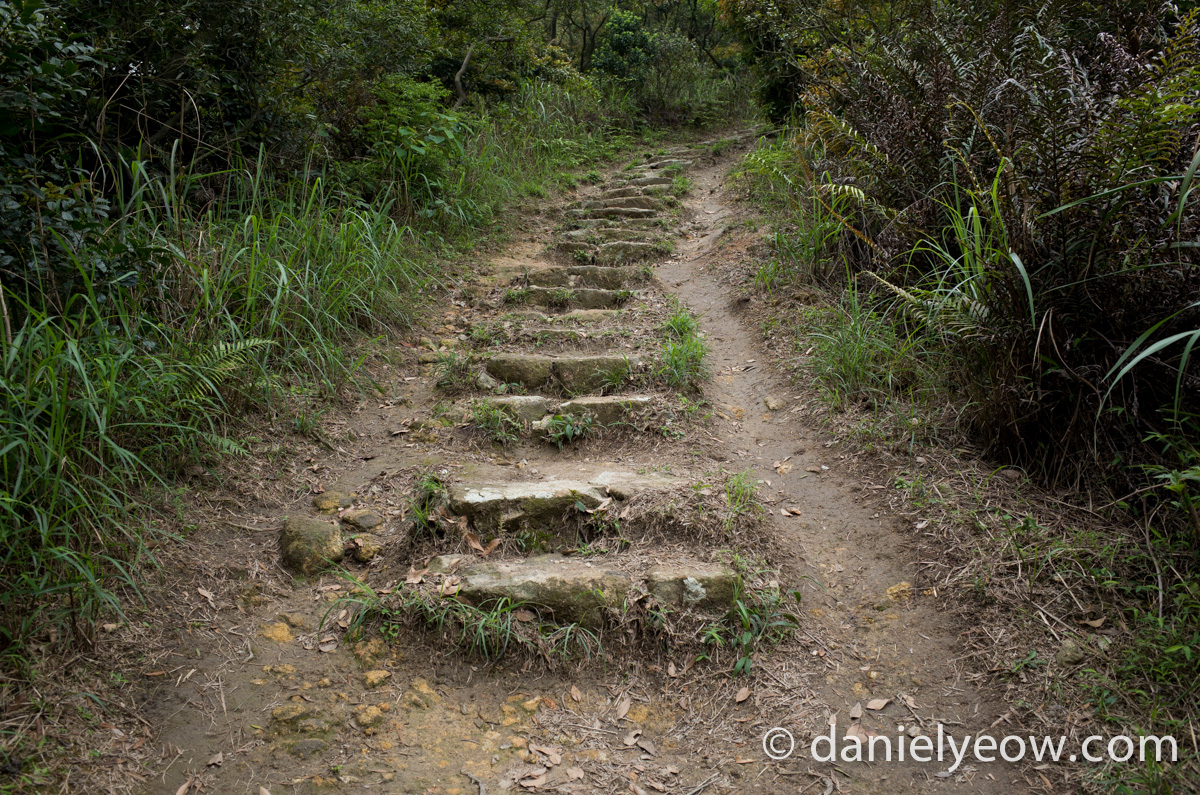
At the beginning of section 3, there is distance marker 18, as well as some toilets. There are also some pretty decent steps, but they disintegrate into the usual fare quite quickly. Less than a kilometre from the start of section 3, there is a resting area which was built as a memorial to a helicopter crash, and which affords a good view of Hong Kong airport (on a clear day)
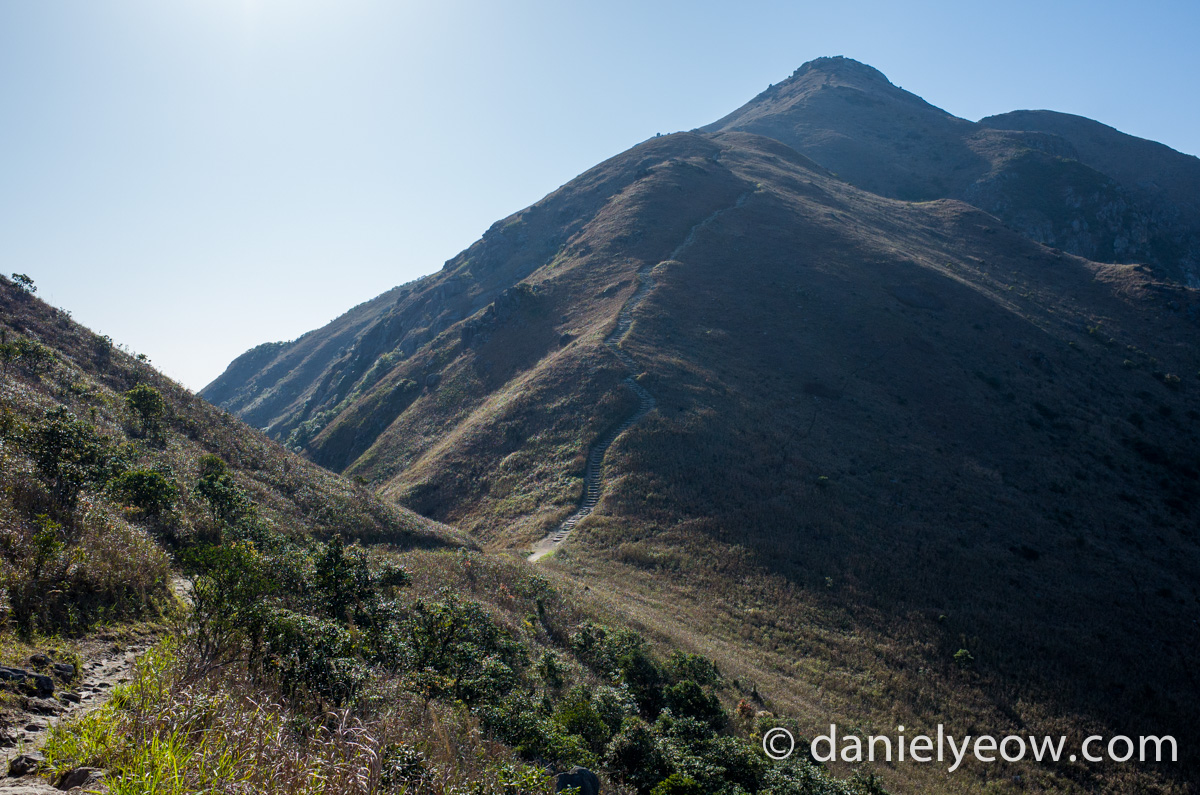
Unlike section 2, where the slope was steep then becoming mild, the opposite happens on section 3. If you’re looking for a good workout, I recommend doing just section 3, and jogging/running it.
Look out for this sign, it’s easy to miss. It also marks the part of the trail where the trees start to disappear.
There are hardly any trees here, and on a clear day, a real need for sunscreen. Near the top of the first slope there is a chair which is very tempting to sit on.
This is the view looking back from that chair. Not only can you see the part of section 3 you just hiked, you can also see the road, as well as section 2 in the distance.

If you can resist that chair, there is a large and quite pleasant resting area just over the hump. This is another good place to rest, because after this point, the trail is at its steepest.
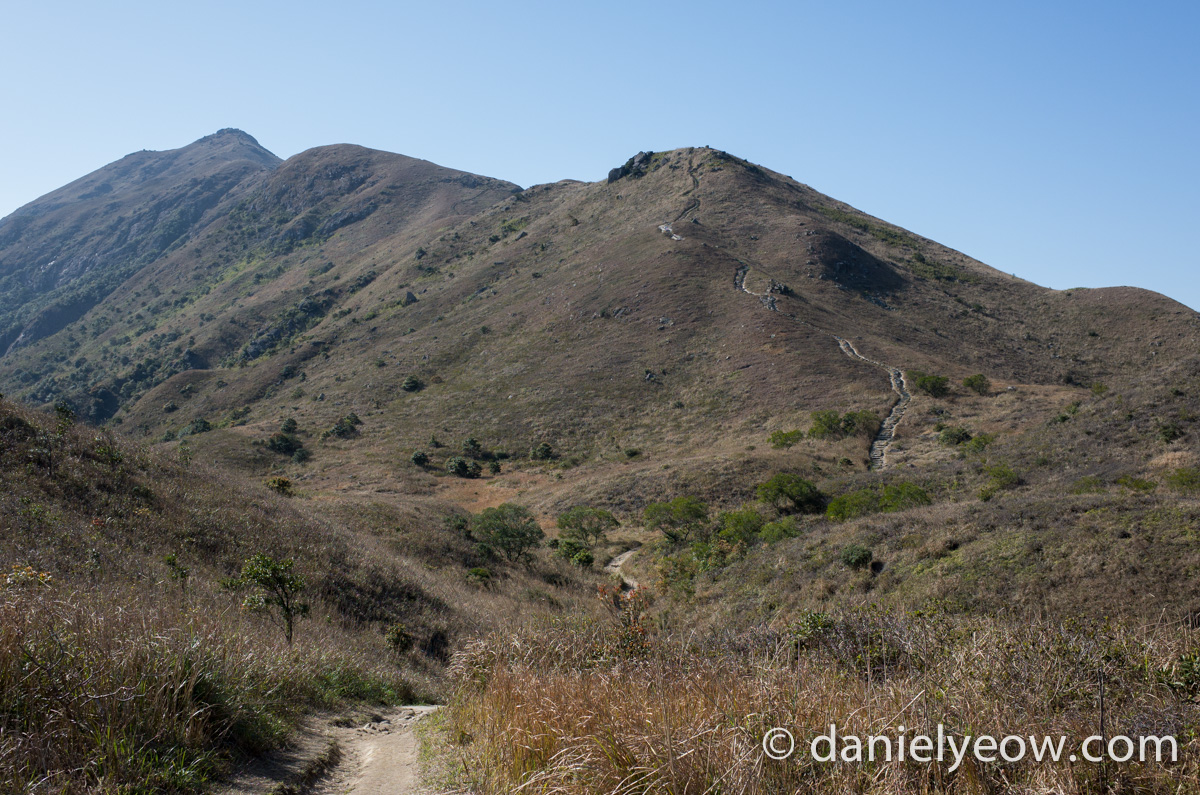
This is the part of the trail I try to pace myself over. The summit of Lantau peak is 934m above sea level, which is a high enough altitude to have an effect on your body. The trail leading up to it, and in particular the last few hundred metres (coming from either direction) are actually quite steep (although very safe). This is why section 3 will often take about the same amount of time as section 2 (usually slightly less) even though it is only about 2/3 the distance.
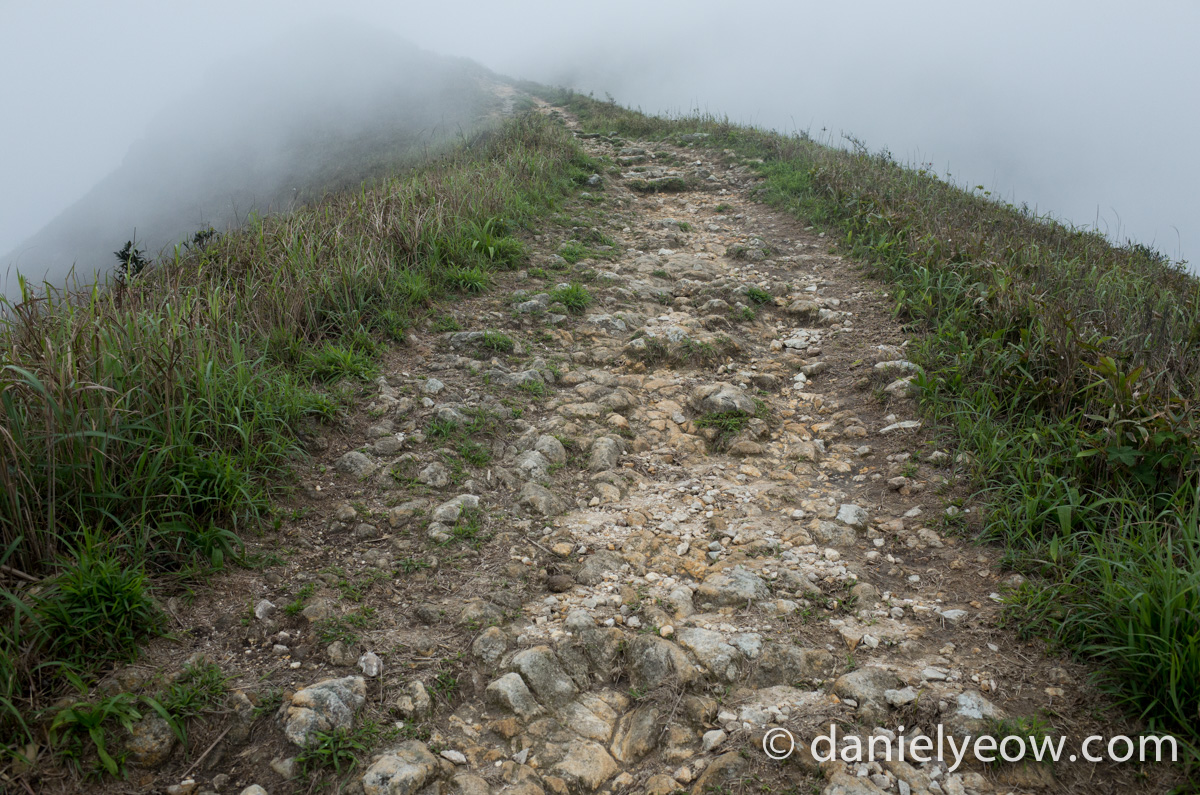
When nearing the summit, the terrain gets quite rocky. Pay attention to your footing, because it is often cloudy, cool, and humid which leads to lots of condensation if the conditions are right. That can make the rocks a little bit slippery. It also gets windy up here, so pay close attention to that and try to lean into the wind.
Marker 24 is the last marker you encounter before the summit. On a clear day you can see the summit from here (or at least you can see the outline of the refuge building at the summit). This is the part of the hike where you gather your strength for that final push, or simply ‘keep going’ because you’ll get to have a little break on the summit.
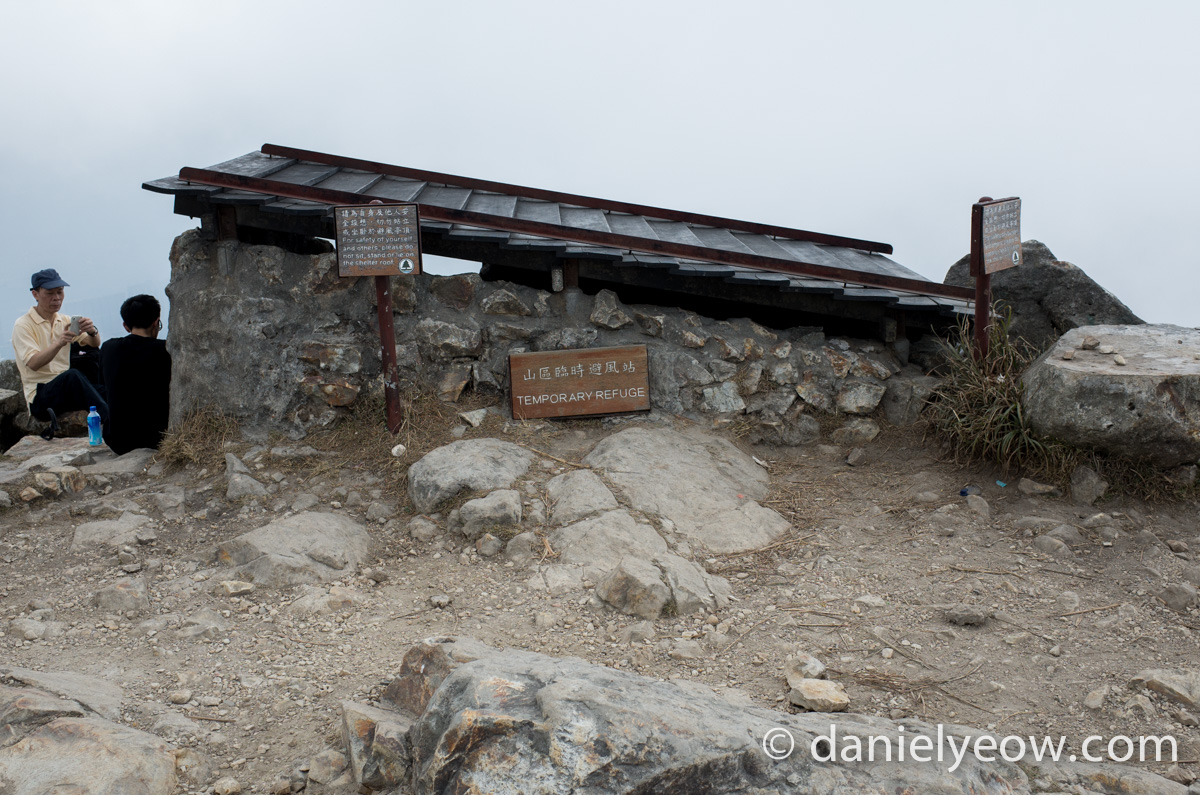
The Peak
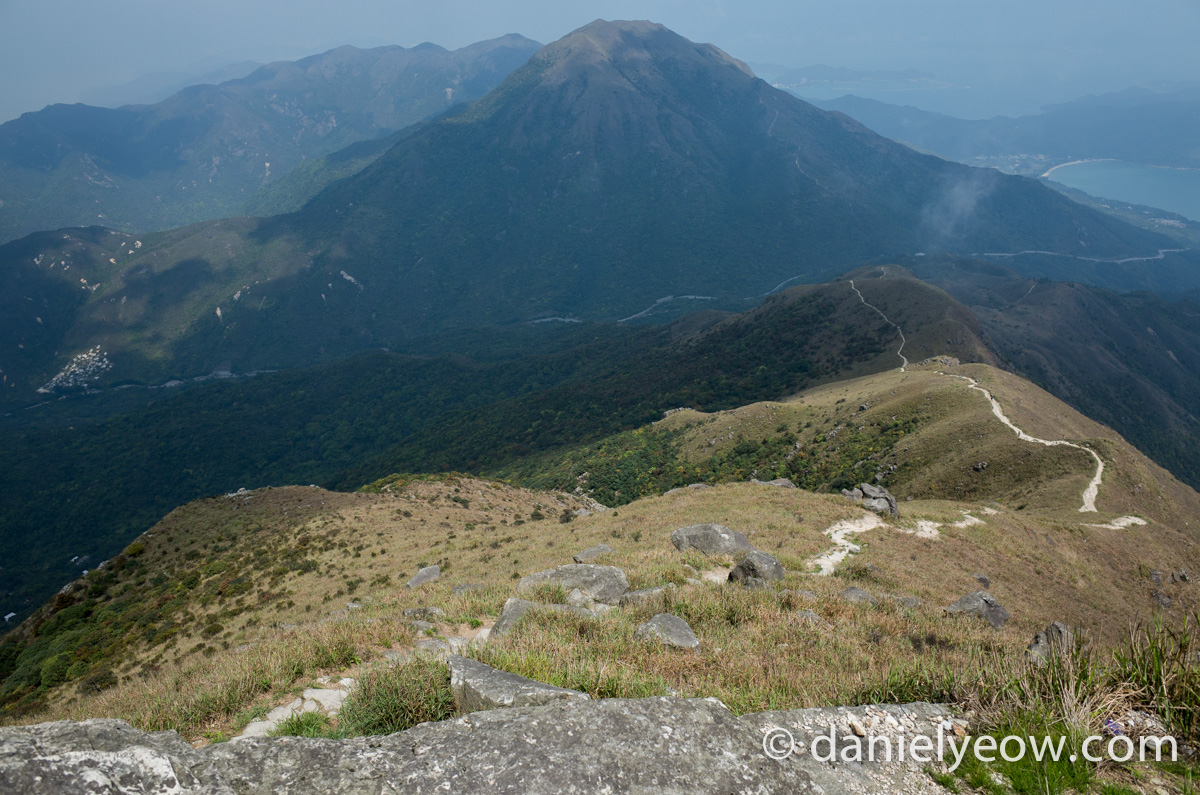
The summit is nice in that it is relatively flat and there’s plenty of space and rocks for people to just sit around. I like to sit right on the summit marker itself (but not on top of it – this will make more sense when you see it) and eat a small meal of müsli bars. If the weather is clear, this is a good place from which to take a panoramic photo, or to take photos from which you can construct a circular panorama like I’ve done here.
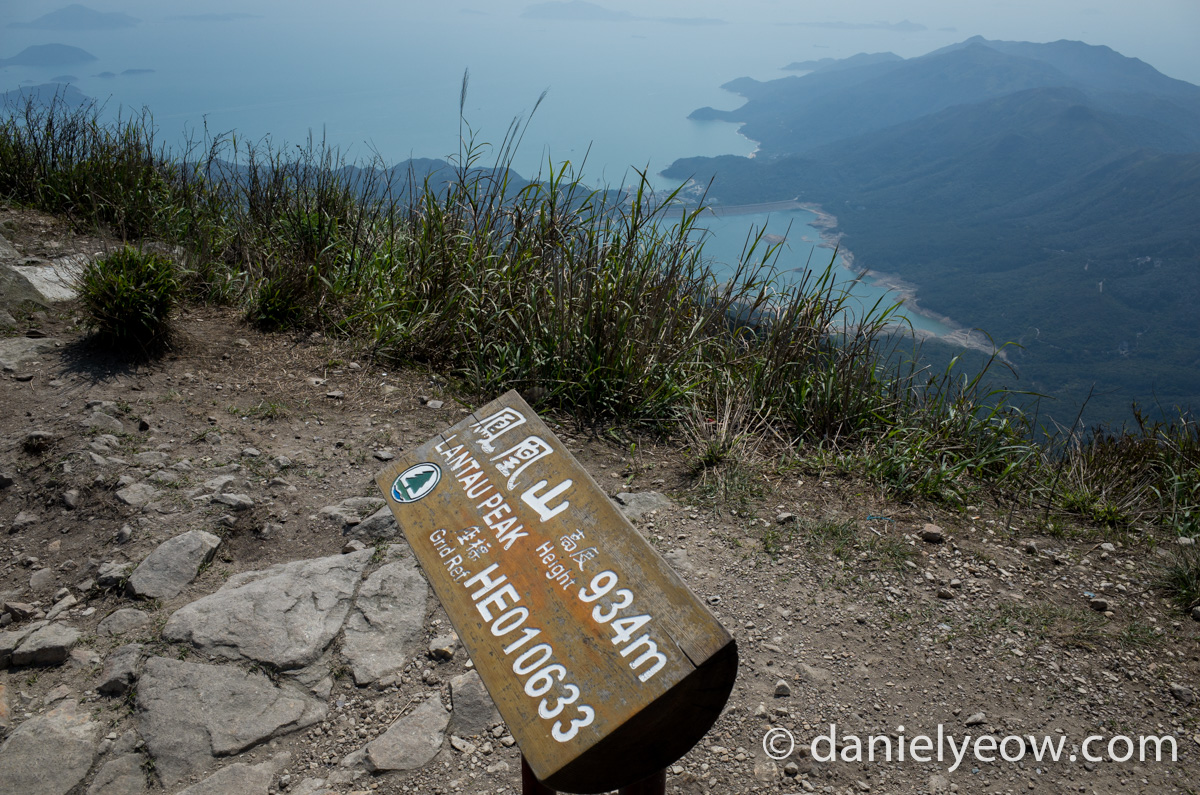
From the peak you can see the big buddha statue, the airport, and Shek Pik reservoir. Have a good look at it, because the southern tip of it is where we eventually end up. Also stretch out the legs a bit, because even though it’s all downhill from here, it’s quite steep for quite a long time, and loading your muscles like that can fatigue you very quickly.
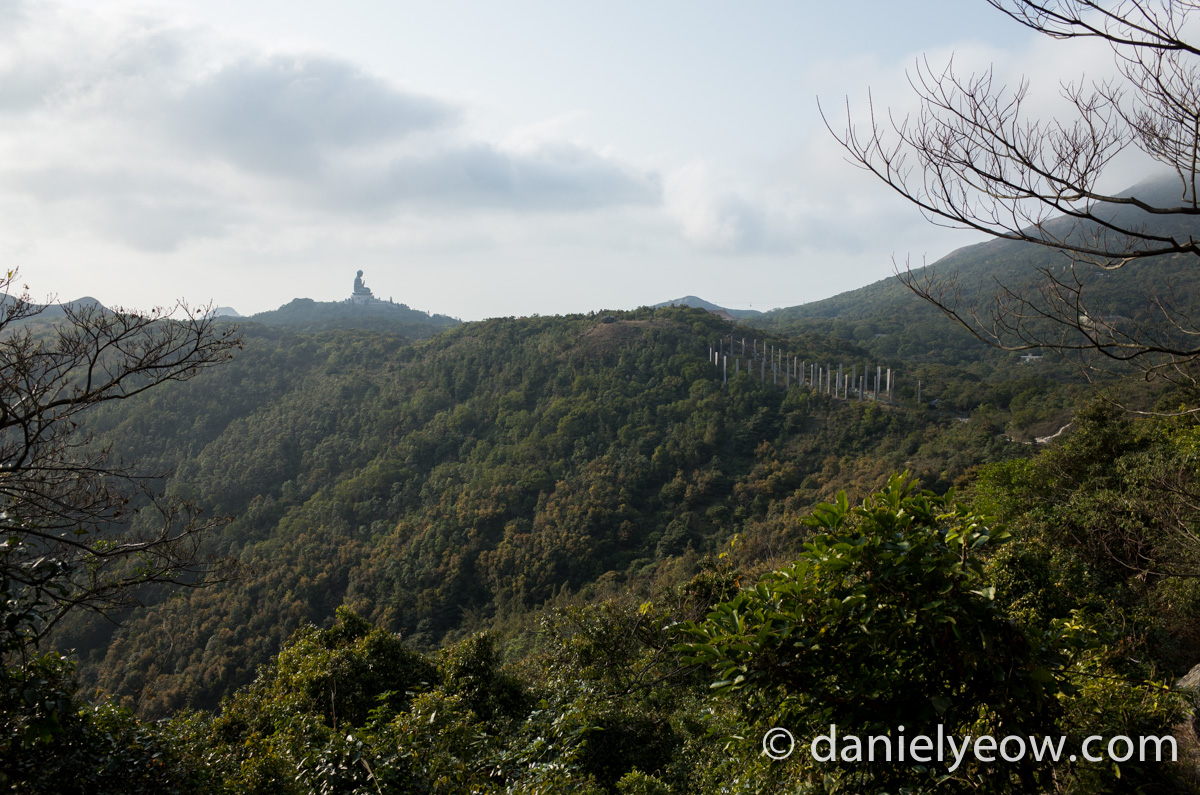
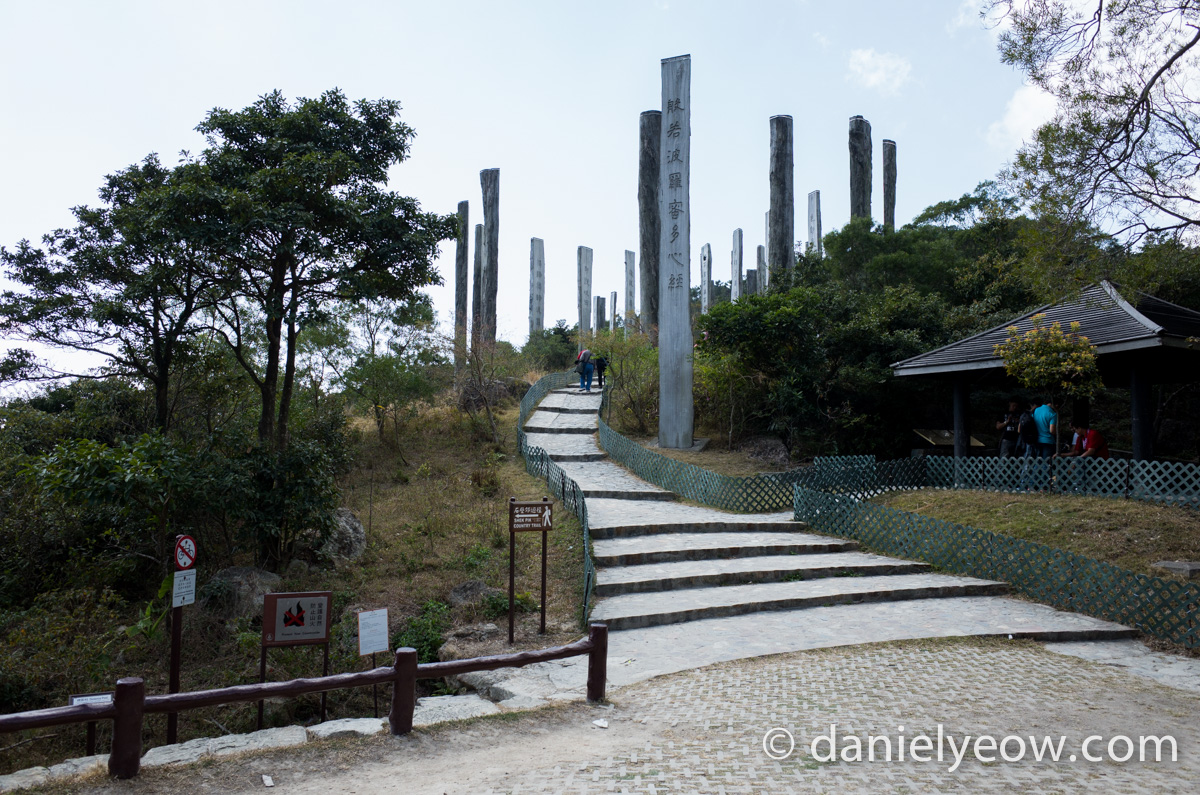
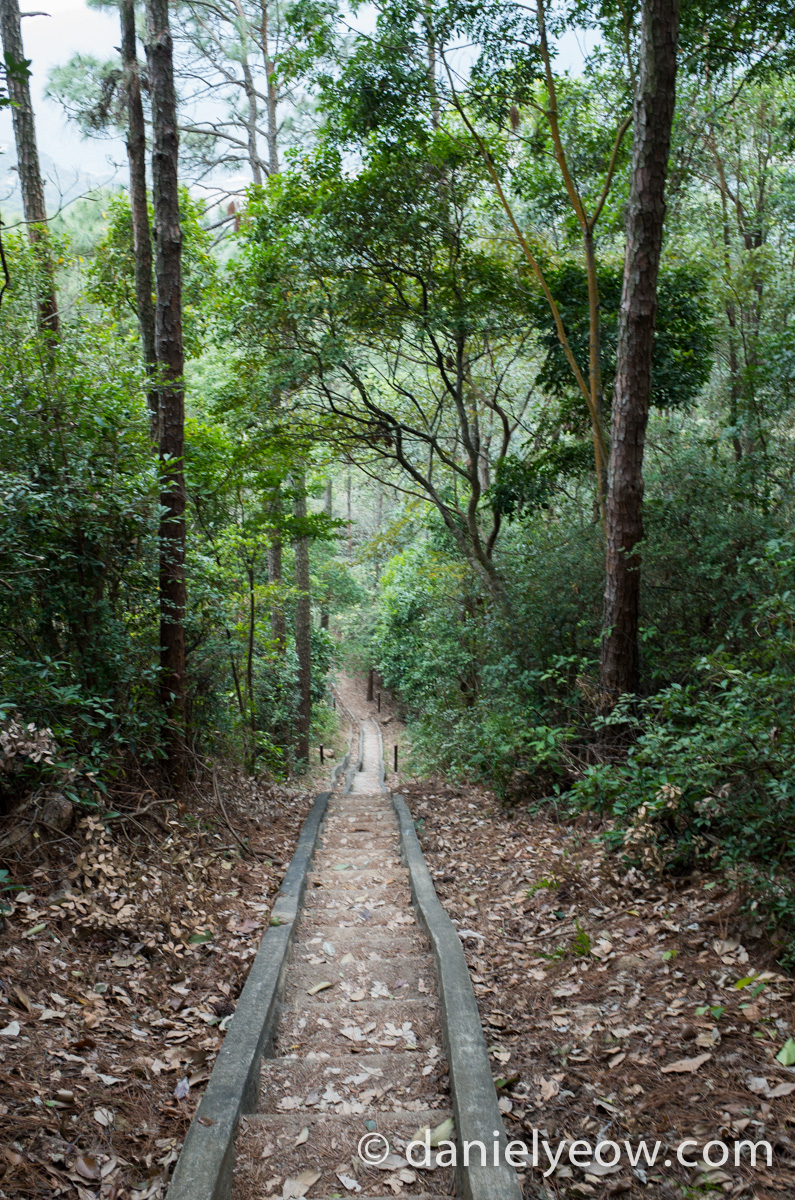
Be careful in the initial section of downhill, since it is not only very steep, but the rocks are quite jagged. The difficult section is over when you reach distance marker 25, and from then on it is mostly a bunch of fairly well-constructed steps in a seemly never ending series of switchbacks. When you get towards the end of it, there’s a mini-stream that you sort of jump over then a chair to sit on. You should also be able to see the big buddha statue from the side, as well as the “path of wisdom” which is marked out by those vertical wooden sticks.
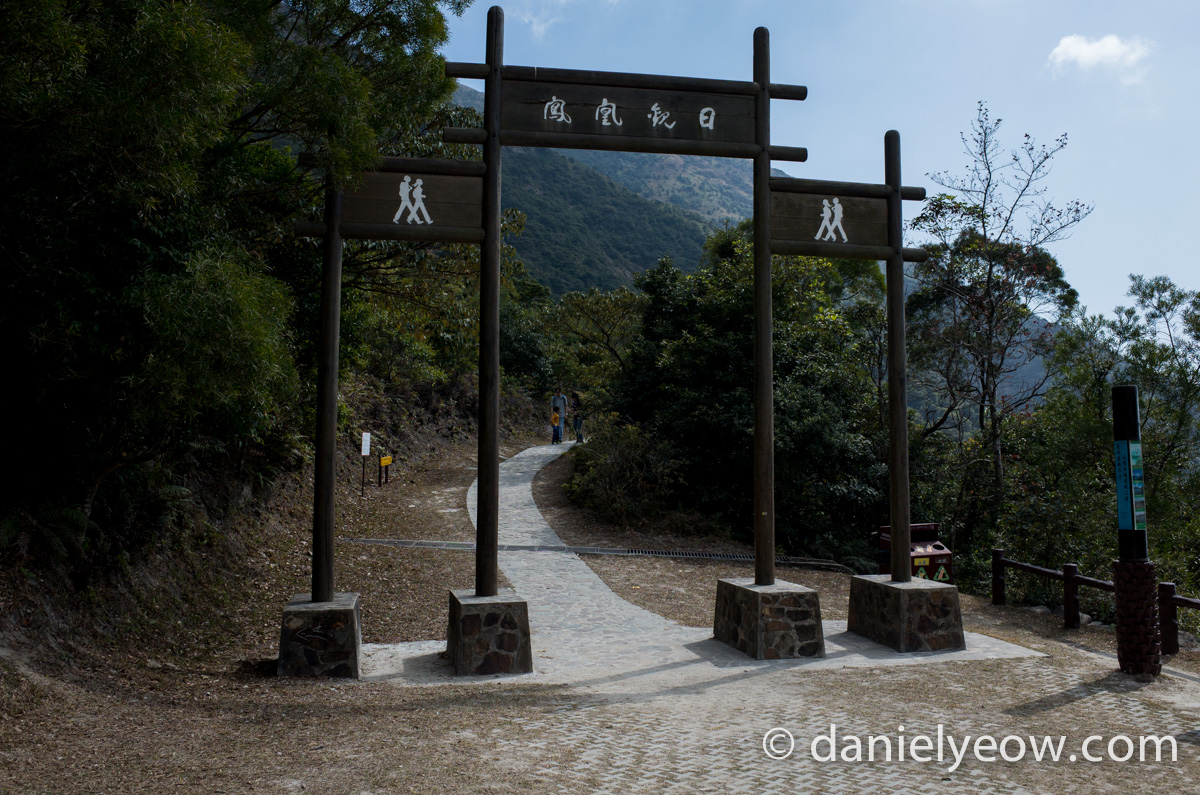
Not only does the path flatten out, it also becomes a proper path and is sort-of sealed. There’s even an observation deck for the wisdom path very close to the end of the trail. Here is a pretty good spot to rest (I like resting). There are plenty of seats (but also, often, plenty of people, yuk). From here, one can walk to Ngong Ping where one can catch a bus to either Tung Chung or Mui Wo (one can even catch a cable car if one wishes). If one desires, one can visit the big buddha statue (be warned, there’s more steps). I usually eat something, drink almost all of the rest of my water, and rest long enough for my body temperature to come down. Depending on the ambient temperature, I may or may not change into a dry shirt, or change from shorts to long pants at this stage.
Section 4
The final section – the Shek Pik country trail (not the Lantau Trail, section 4), begins where the wisdom path begins. Instead of going up the path, turn left just before the first step, and you’ll be on your way.
This section is 5.7 km long, but is one of the quickest sections because the terrain is easy. It is essentially flat (slightly downhill) and the ground, while often uneven, is fairly soft and not difficult. It’s a great ‘warm down’ from the difficult section 3. The tree coverage is also great, so you get some shade from the sun.
Most of the way looks like this – flat, shaded, easy. If you come on a weekday, there is a good chance that you won’t see anyone else for the entire length of the trail – perfect for a murder. Especially if you walk later in the afternoon, near sunset. The trail winds around the base of Lantau Peak and there is the occasional stream to step through. I wouldn’t recommend doing this section during monsoon season because of the danger of landslides (although, generally speaking, I would recommend against doing any section of this hike, except perhaps the first, during monsoon season).
You’ll occasionally see glimpses of Shek Pik reservoir through the foliage, but overall, this is a fairly boring part of the trail. You’ll know you’re getting near the end because you’ll start hearing the sound of a road, and you’ll come across some very steep concrete steps. If it is raining, be very careful because they’re slippery… but otherwise a gentle jog is the easiest way down.
The End
The last marker of country trail is 1511. After this, you’ll cross a large waterway, follow the road to the right, then left, then out of a picnic area and towards the main road. Curiously, nobody thought to put a bus stop near the entrance to the camp grounds, so you are stuck about equal distance from your two closest ones. My preferred direction is to the right, because then you get to see the reservoir up close (don’t spit in it).
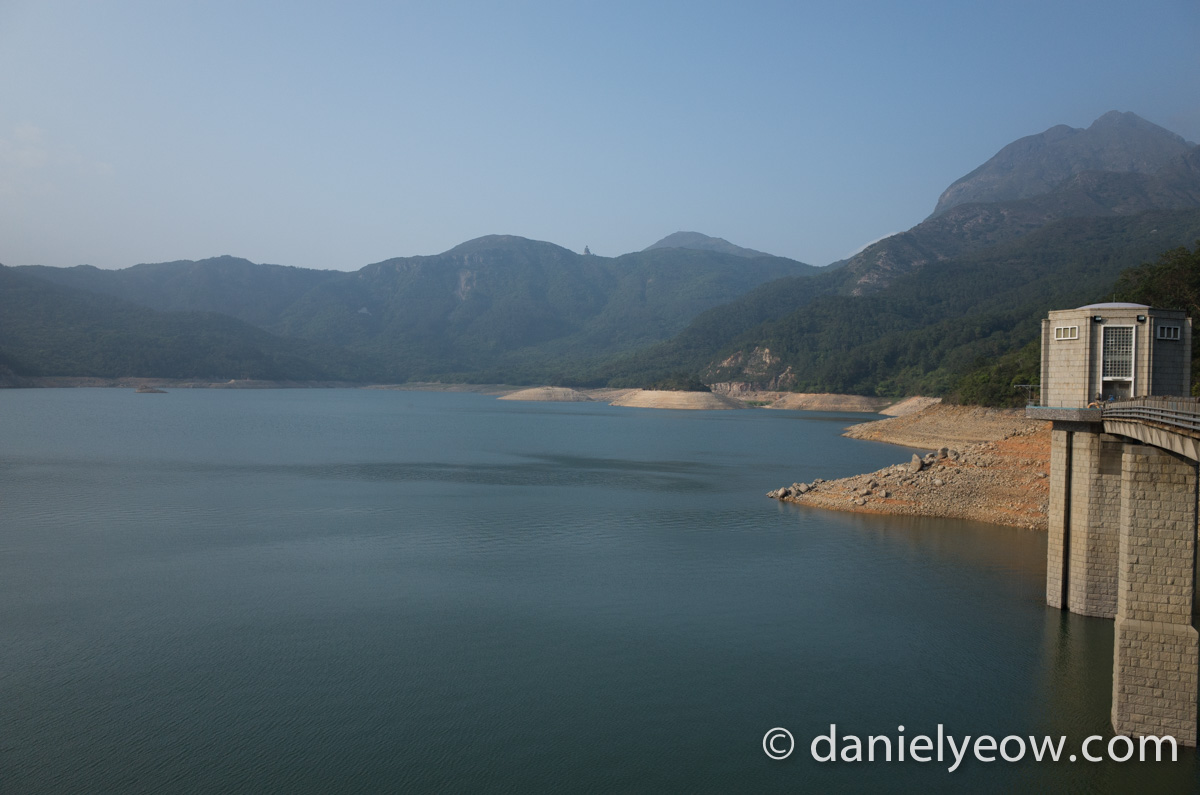
The bus stop is near the southern tip of the reservoir and it even has a few seats. The quickest way back to civilisation is to take the bus to Tung Chung, then the MTR. The bus to Mui Wo, then the ferry takes a little longer mostly because the ferry is not as fast as the train, even though it travels a shorter distance. To get to Cheung Sha beach, any bus can be taken.
Epilogue
Getting off at the right stop for the beach is easily the most difficult part of the day. The bus drivers are often less than helpful even if you can speak cantonese (which I do). Annoyingly, the correct stop is the last one before a very major (and only) roundabout which is usually the first indication that you’ve gone too far. Your best bet is probably to ask a local to ask the driver for you, or otherwise keep a close eye on the GPS on your phone.
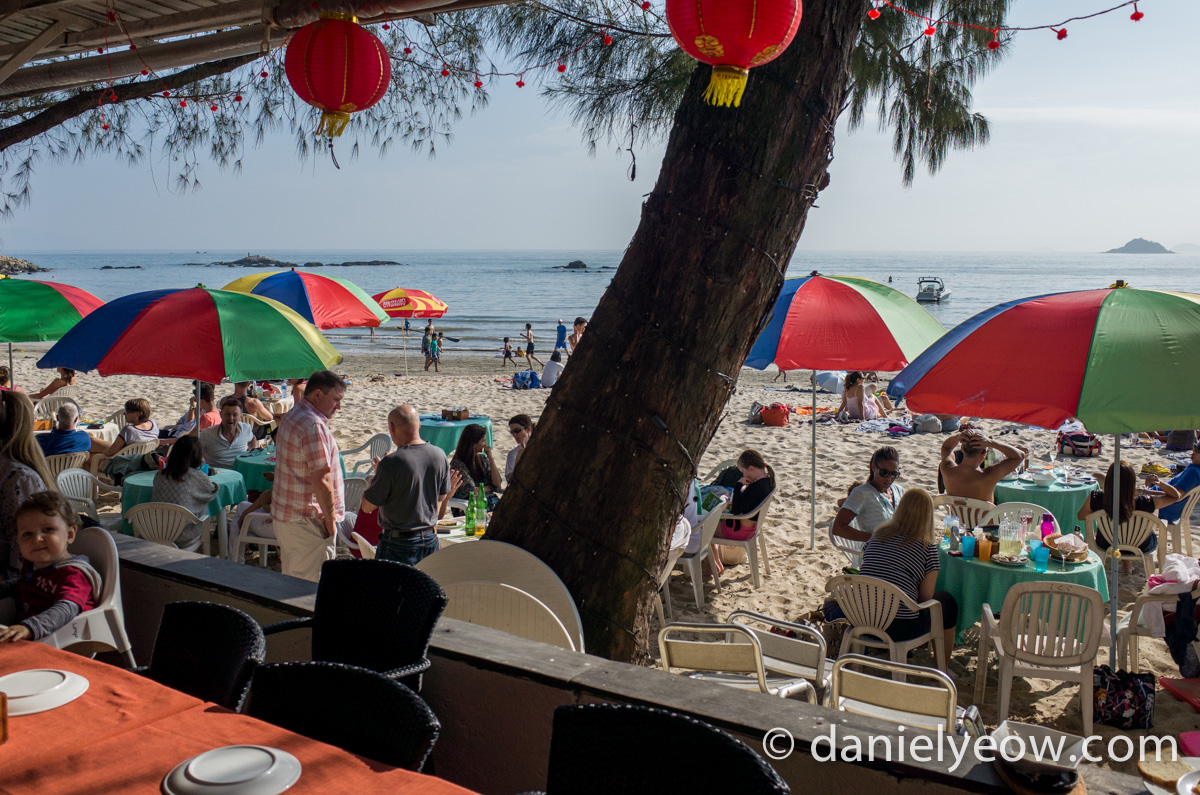
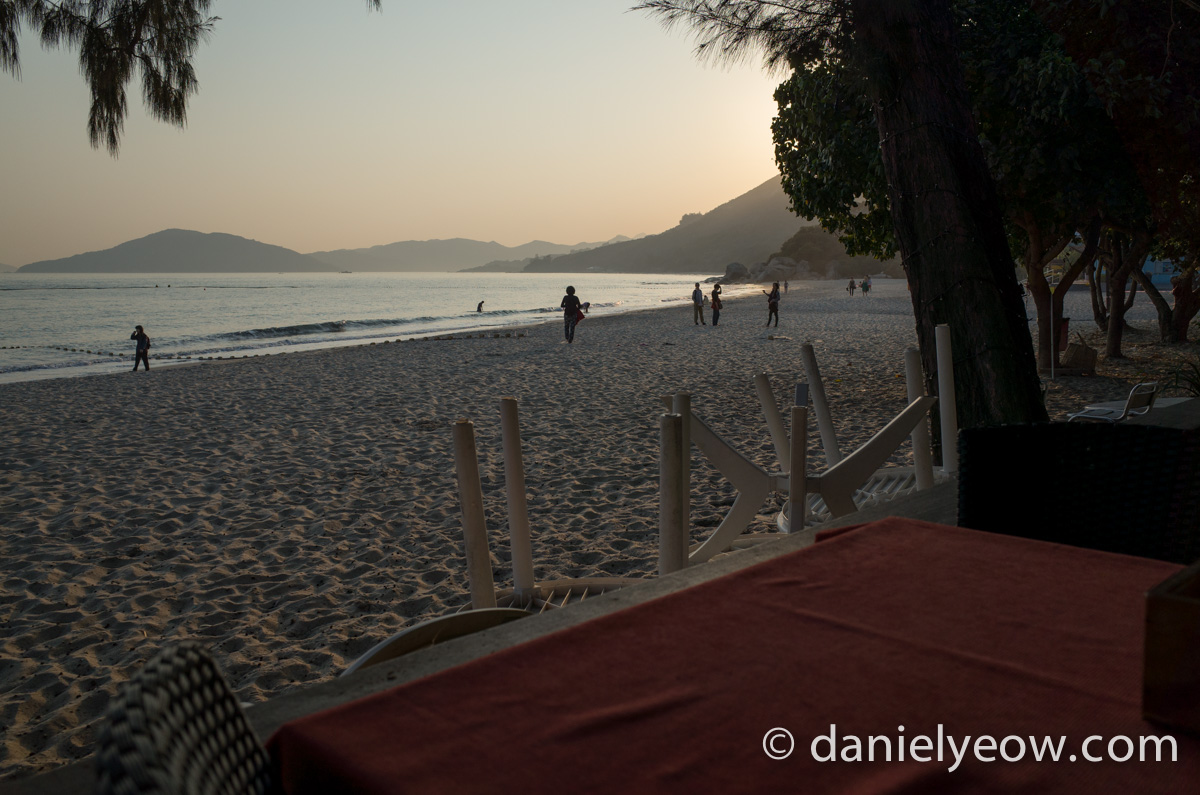
If you do manage to get the right stop, there is what looks like a small driveway immediately opposite, on the other side of the road from where you got off the bus. You walk down that, past what looks like a vegetable garden on your right, and the Stoep is the first restaurant you get to. On a weekend when the weather is good, it may even be advisable to book in advance. Of course they have much more on offer than ostrich, and there are plenty of drinks to satiate your thirst after a long day of hiking. Nearby Cheung Sha beach is one of the cleanest in Hong Kong (this is not surprising, as it faces south, away from China), and is definitely one of the nicer ones. On a weekday, at the right times, you can sometimes have the whole beach to yourself. Having a dip in the sea is especially refreshing after a day of hiking and getting sweaty (and getting sweaty from hiking, even).
Quirks
One of the more curious things I’ve noticed is that the changing rooms have their showers located on the outside (and none on the inside). In Hong Kong, having inherited British Victoria-era prudishness, it is illegal to be nude in public anywhere under any circumstances, and this fits quite well with Chinese cultural attitudes towards nudity as well. However, because of the awkward placement of the showers, this does make it difficult to have a proper shower after your swim.
What do I do? I usually break the law for a few minutes at the end of my shower, just to make sure I’m thoroughly cleansed. Thankfully, the showers do face the sea (as do the people sitting on the beach), and they are located right next to the entrance to the change rooms. I always have my towel nearby (remember the hitchhiker’s guide to the galaxy), although I rarely cover up with it unless there are people quite close by (I’ve obviously lived in Denmark for too long).
Go Home
Once recharged and refreshed, catch a bus going in the same direction as the one you got off to get here (you’ll need to cross the road), either to Tung Chung (MTR), or to Mui Wo (ferry). Ordinarily, I’ll eat a second dinner somewhere in Central before heading home in the evening, I would recommend this to everyone since your body needs food for recovery.
Leave a comment